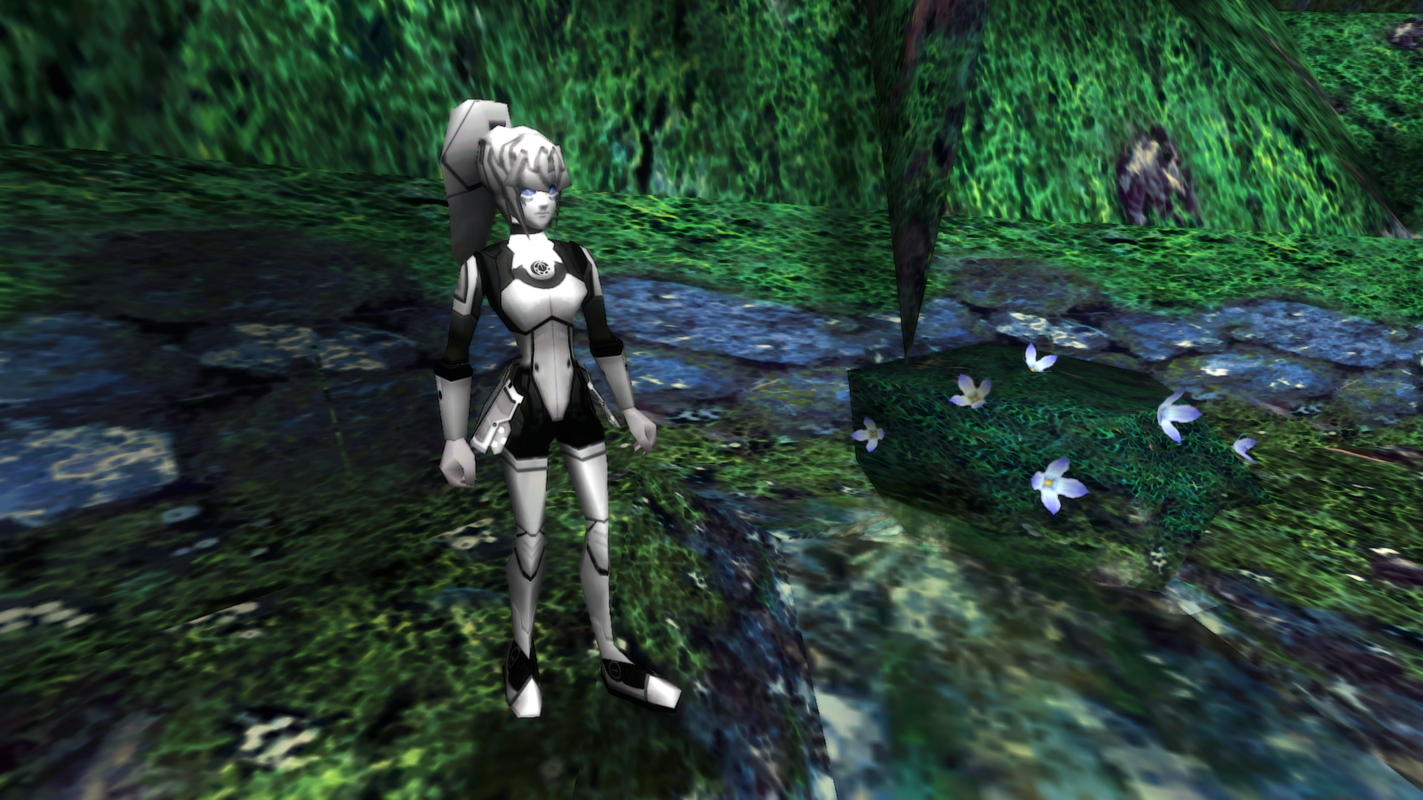
Cashmira ♥
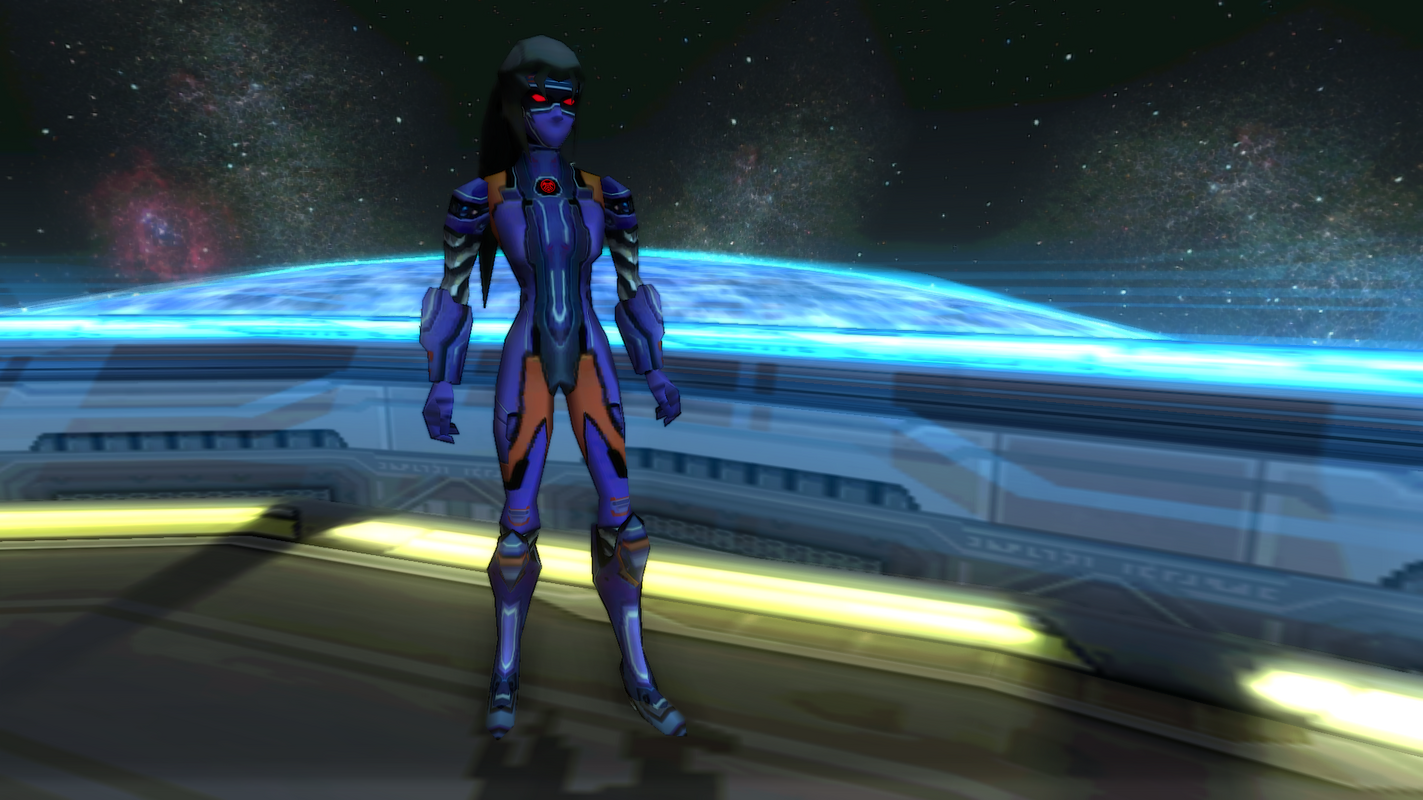
PSO Skinner ★
- Gender
- Female
- Guildcard
- 42085939

★ Installation Instructions ★
► Unzip your downloaded file(s) and place the contents in your "EphineaPSO" folder! ◄
Make sure to back up your files!

★ Cashmira's Skins ★
This is my menu of all my completed skins!
Thanks for checking them out!
[N-VH]=Only compatible with Normal-Very Hard mode. [ULT]=Only compatible with Ultimate mode. (xx/xx/xxxx)=Date uploaded/updated.

Skins that change the look of lobbies!

Skins that change the look of areas in Episode 1!

Skins that change the look of areas in Episode 2!

Skins that change the look of areas in Episode 4!

Skins that change the look of player characters!
This is my menu of all my completed skins!
Thanks for checking them out!
[N-VH]=Only compatible with Normal-Very Hard mode. [ULT]=Only compatible with Ultimate mode. (xx/xx/xxxx)=Date uploaded/updated.
Skins that change the look of lobbies!
Lobby Pack (04/30/2024)
"A compilation pack of my lobby skins!"
►Download ♥
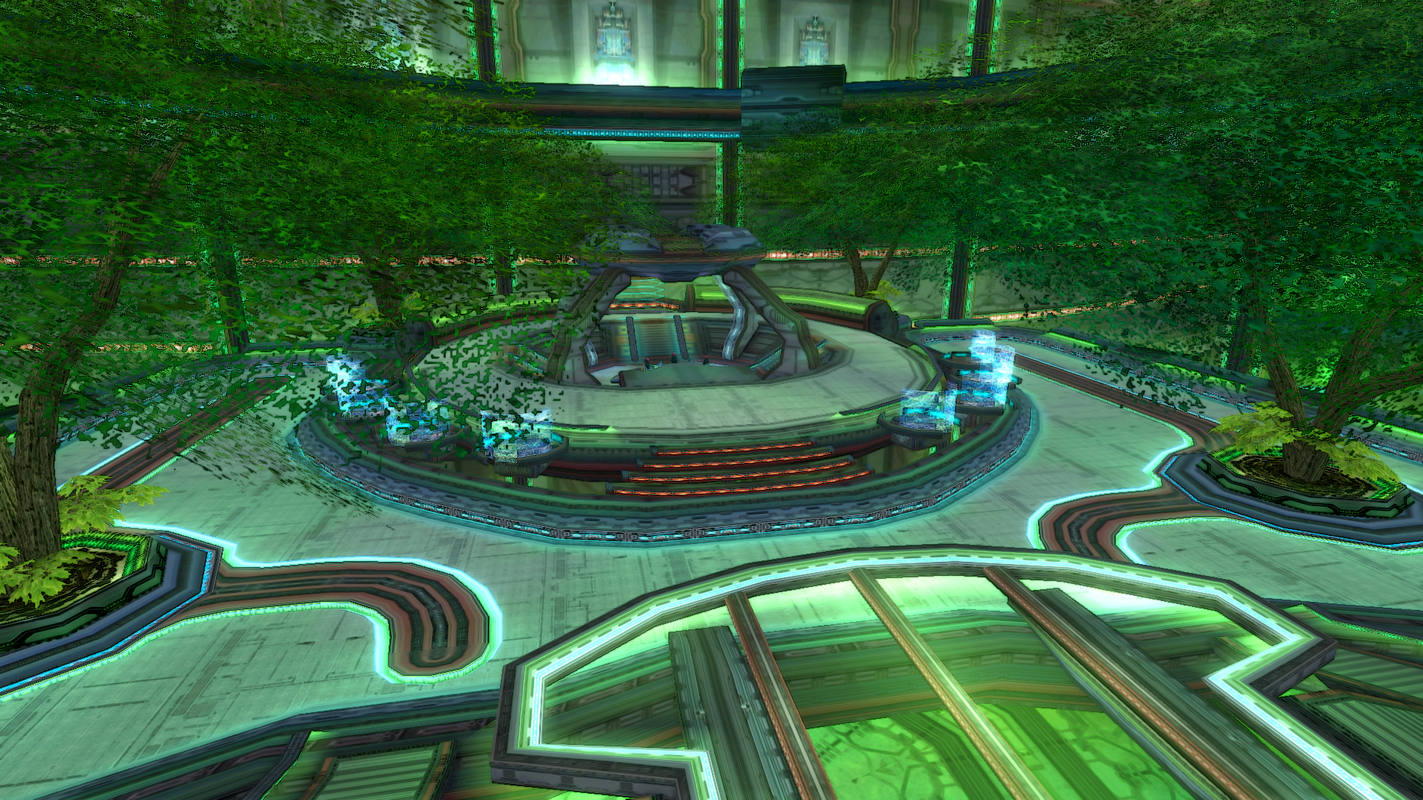
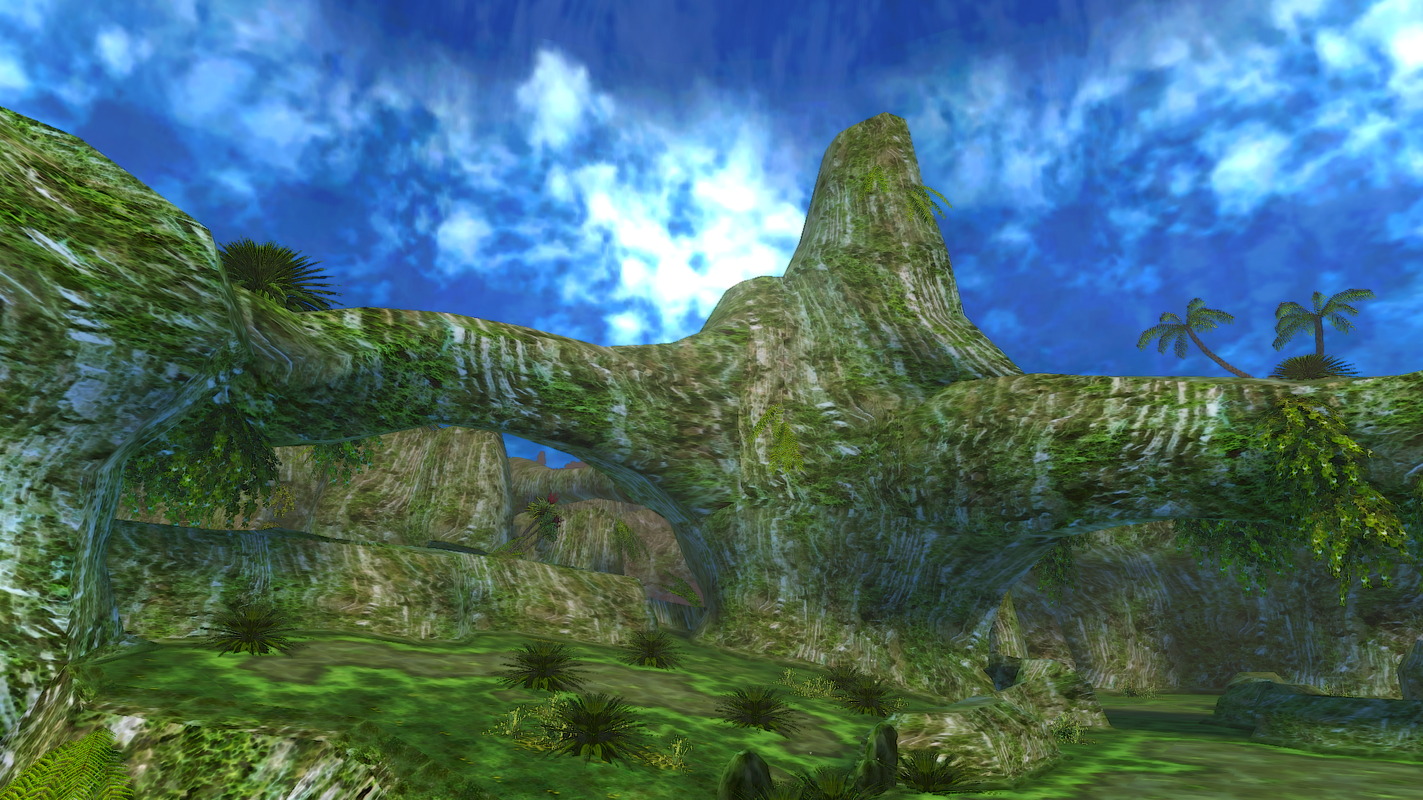
Arboreal Archway Lobby 1 (09/28/2020)
"An alternative lobby skin, packed full of color with a refreshing aesthetic!"
►Download ♥
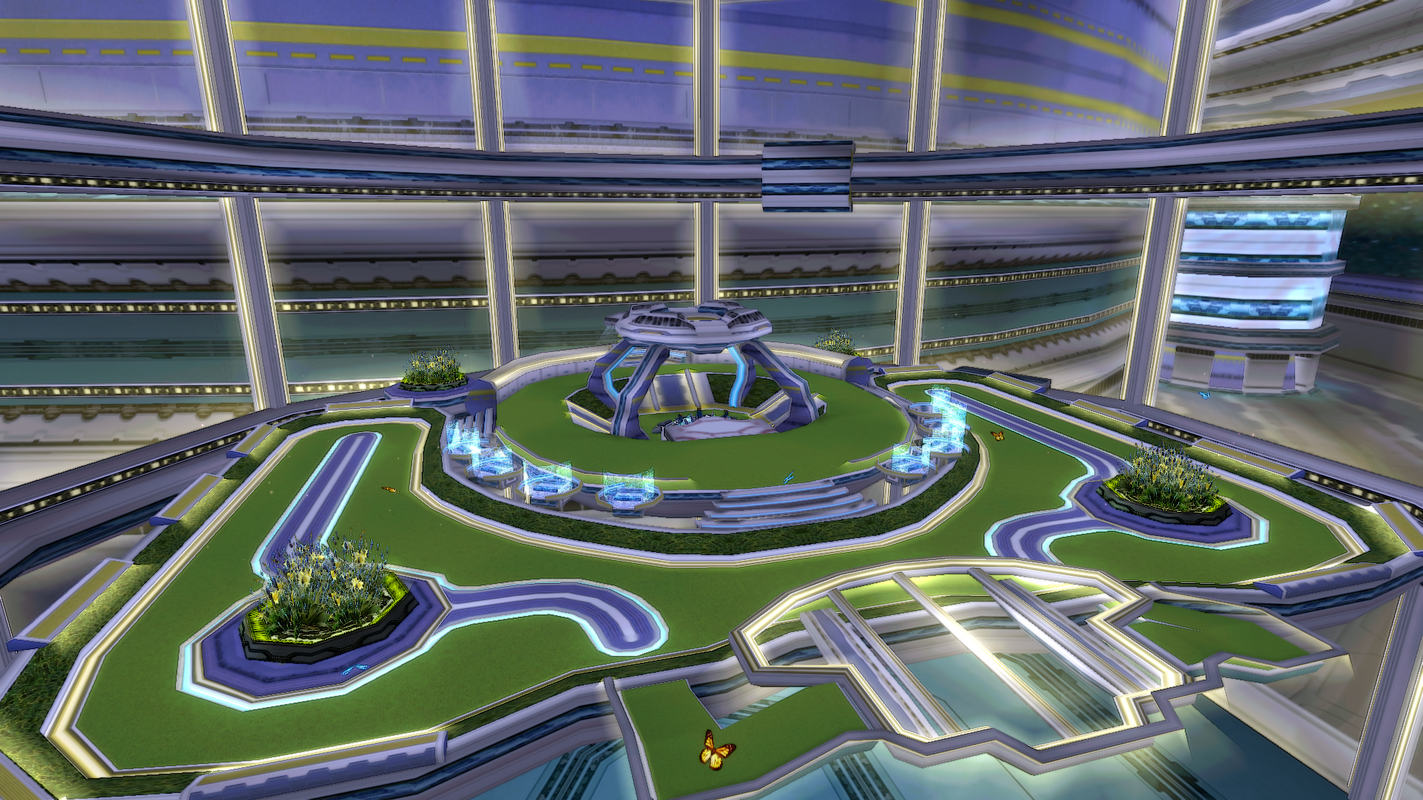
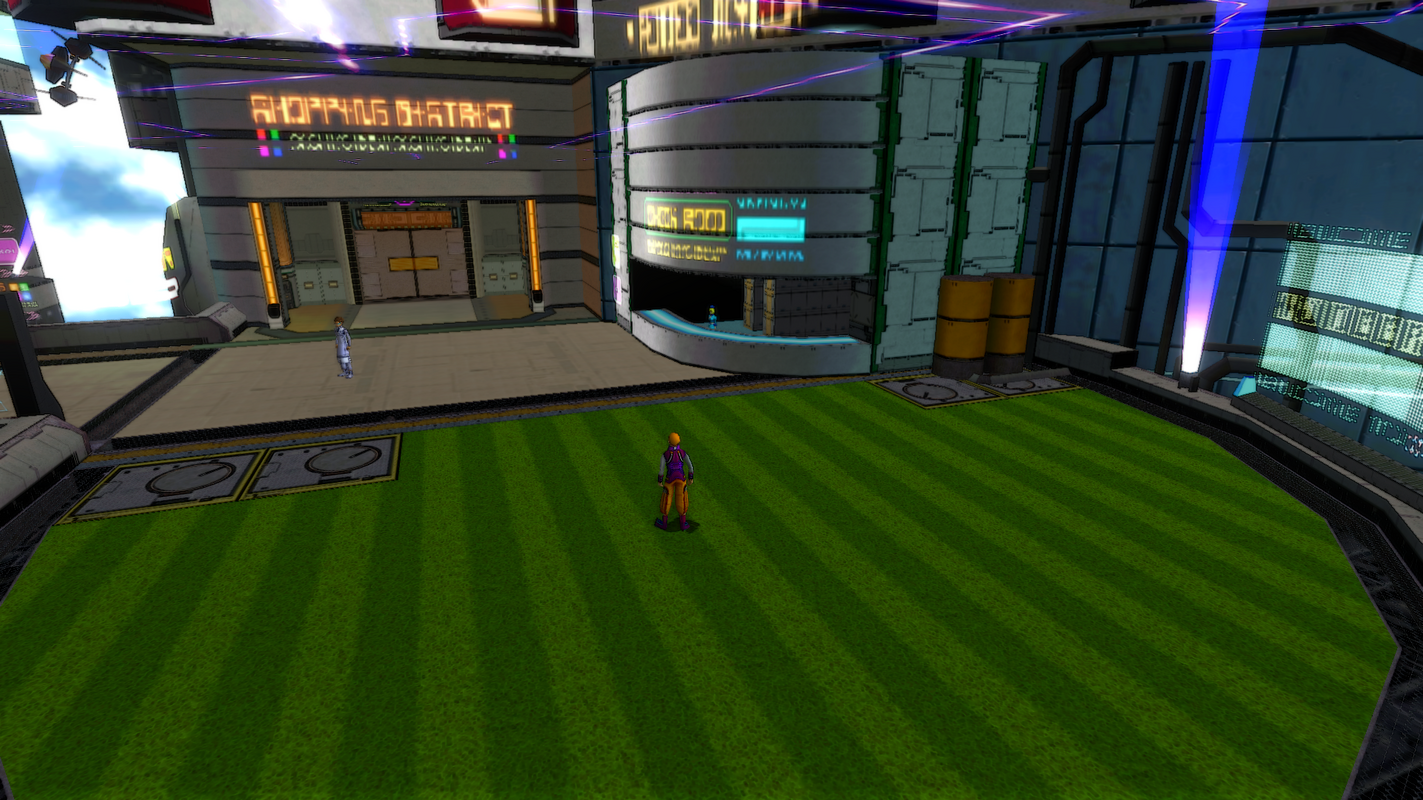
Pioneer Park Lobby 2 (08/18/2023)
"A clean, grass filled park for hunters to relax in!"
►Download ♥
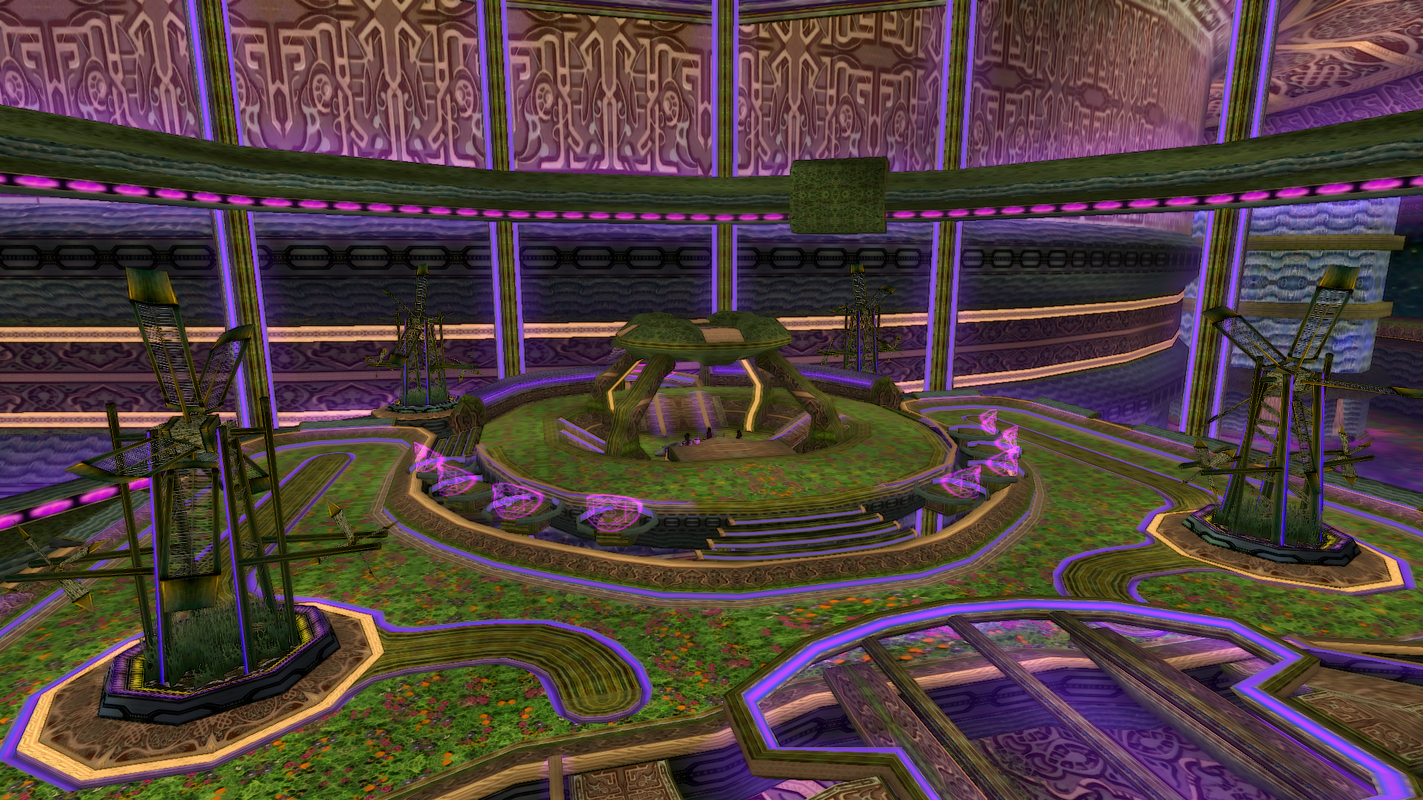
Magitech Meadow Lobby 3 (09/07/2023)
"A mystical and industrial lobby, themed around magic and machine!"
►Download ♥
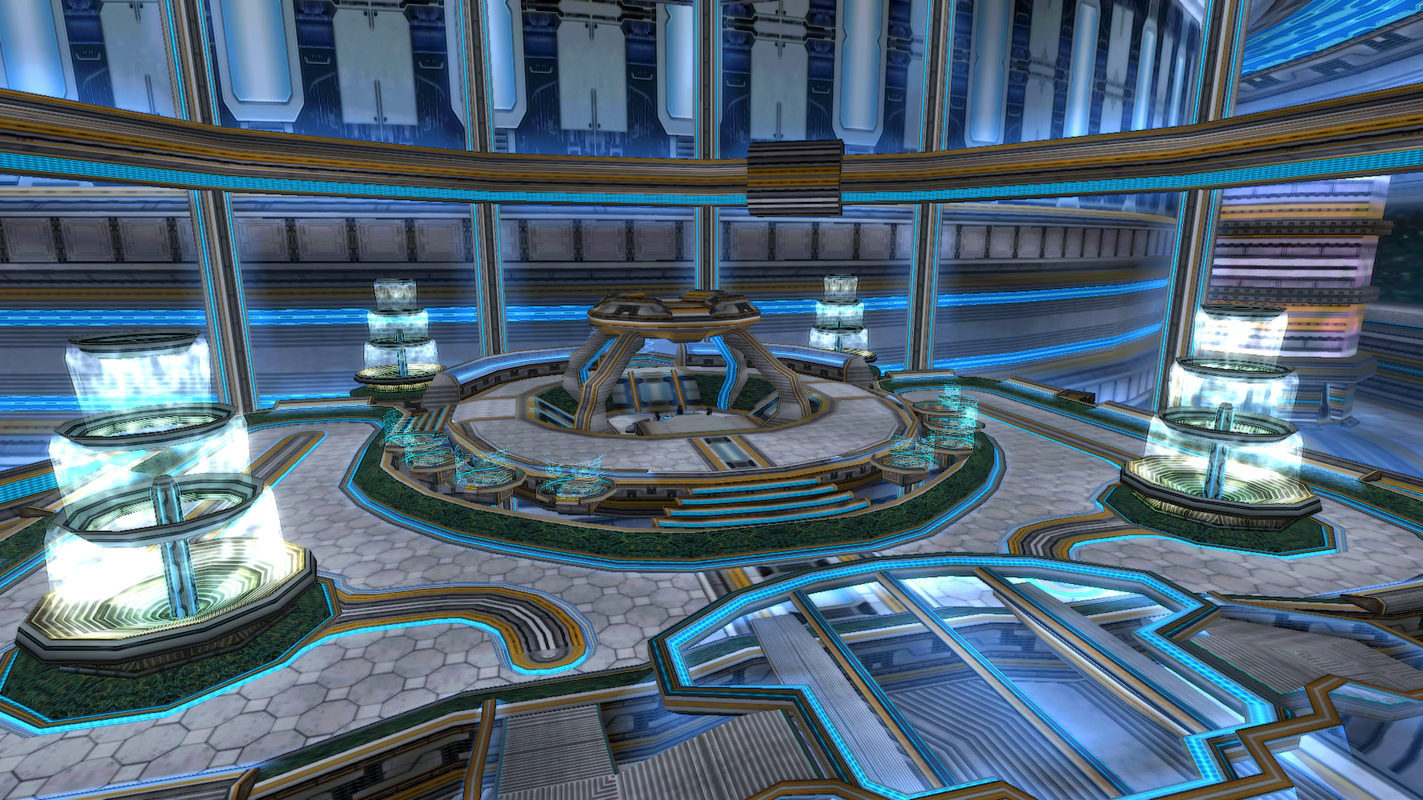
Hydropower Plaza Lobby 4 (09/22/2023)
"A calming plaza for hunters to cool off in!"
►Download ♥
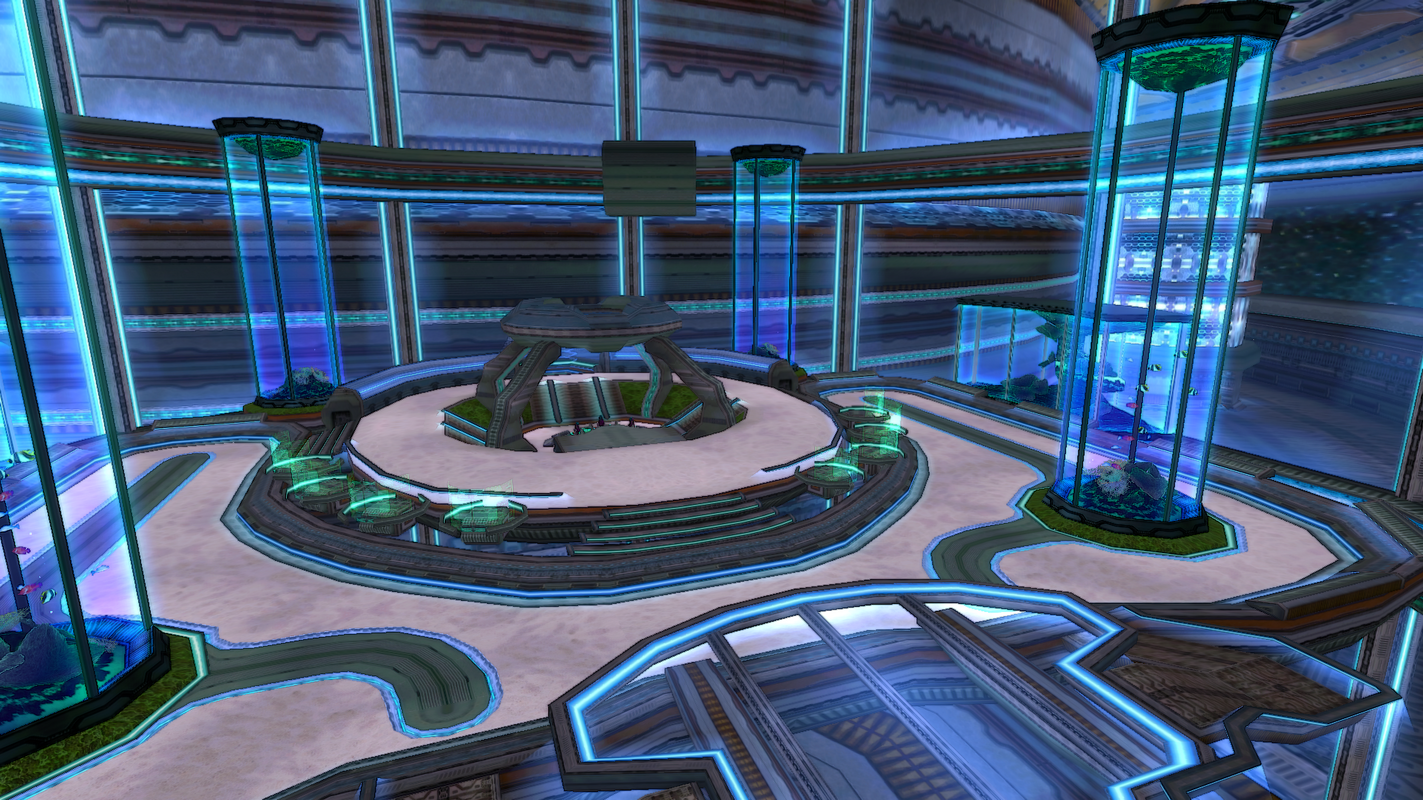
Deepwater Depot Lobby 5 (11/20/2023)
"An oceanic themed lobby for the seafaring hunter!"
►Download ♥
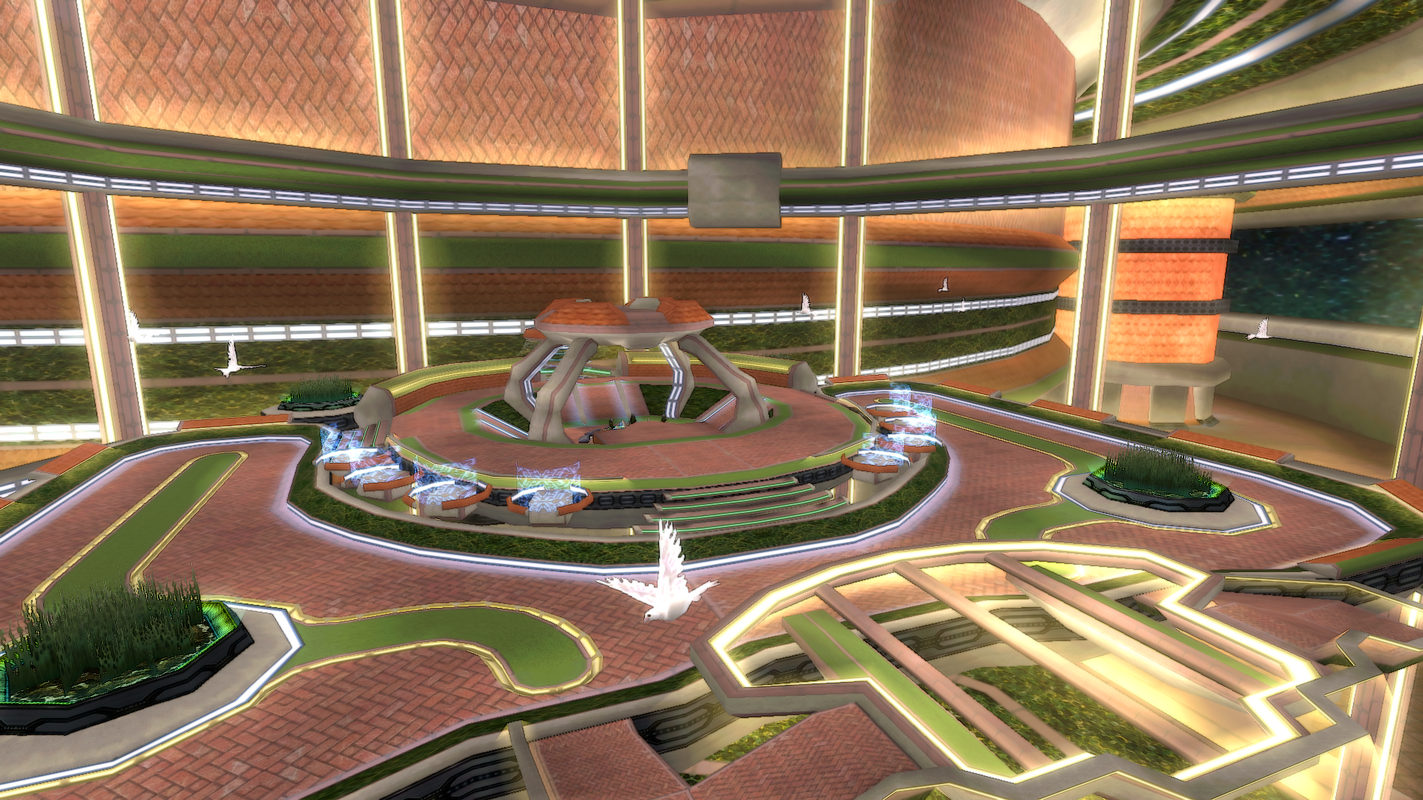
Verdant Vista Lobby 6 (11/29/2023)
"A cozy and serene lobby that's perfect for birdwatching!"
►Download ♥
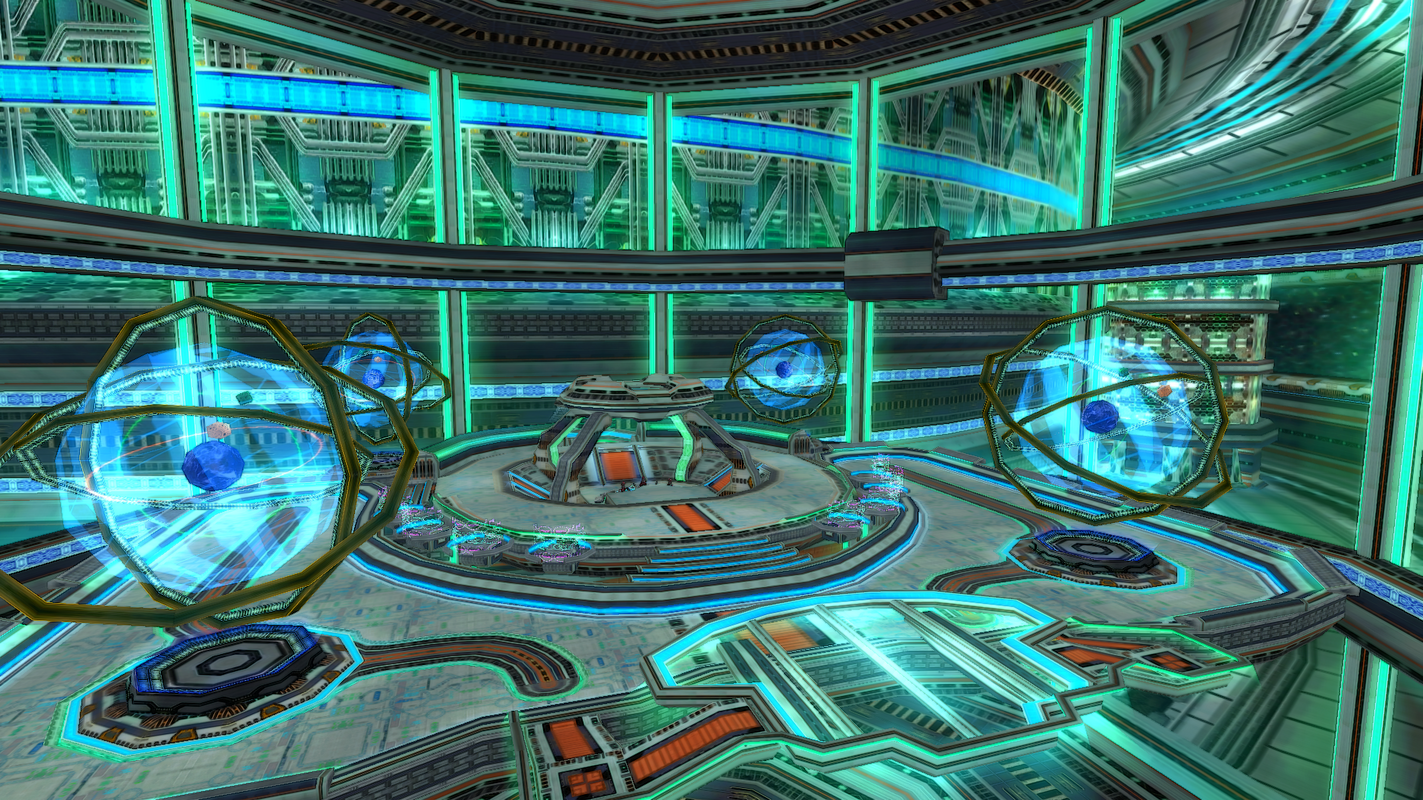
Mainframe Facility Lobby 7 (11/29/2023)
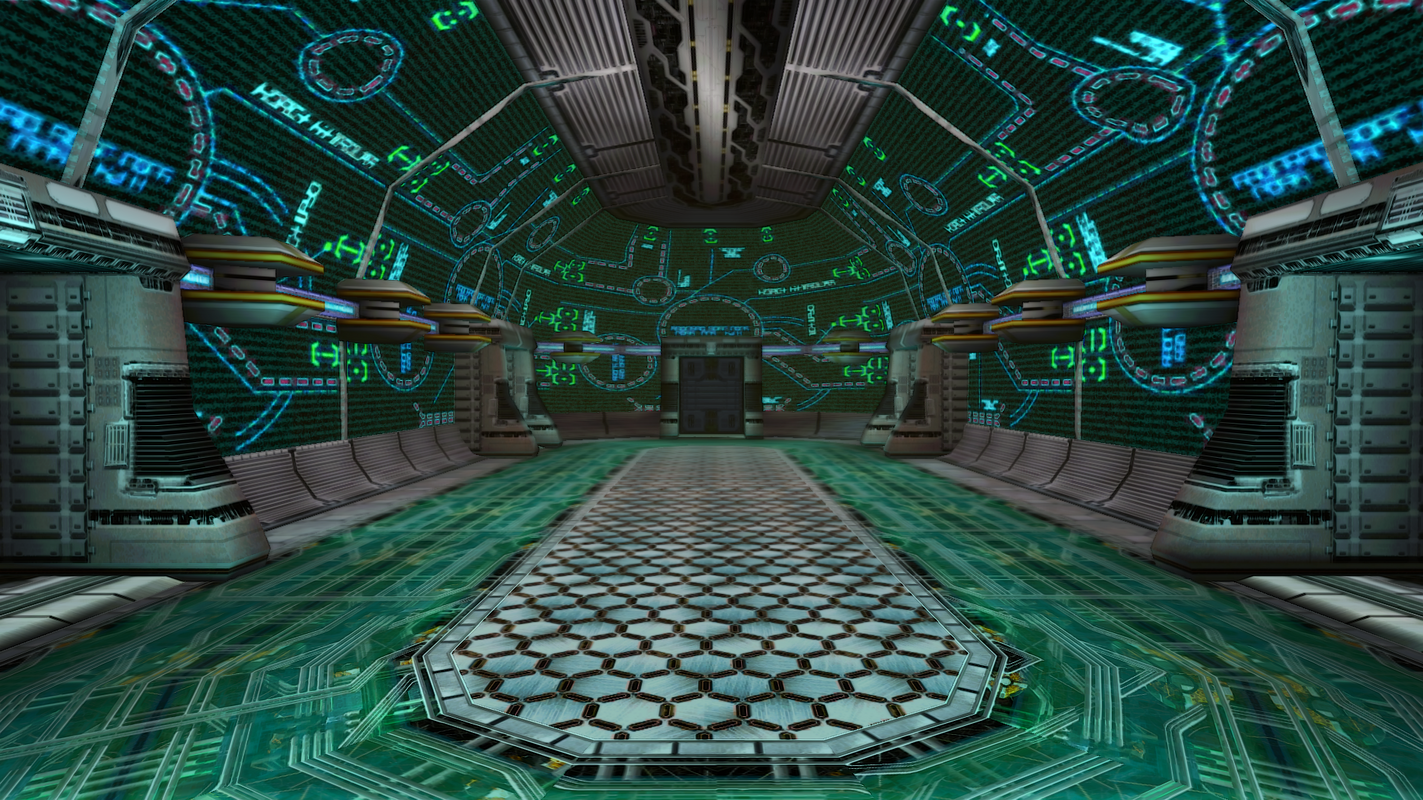
"A high-tech lobby with a bright, futuristic look!"
►Download ♥
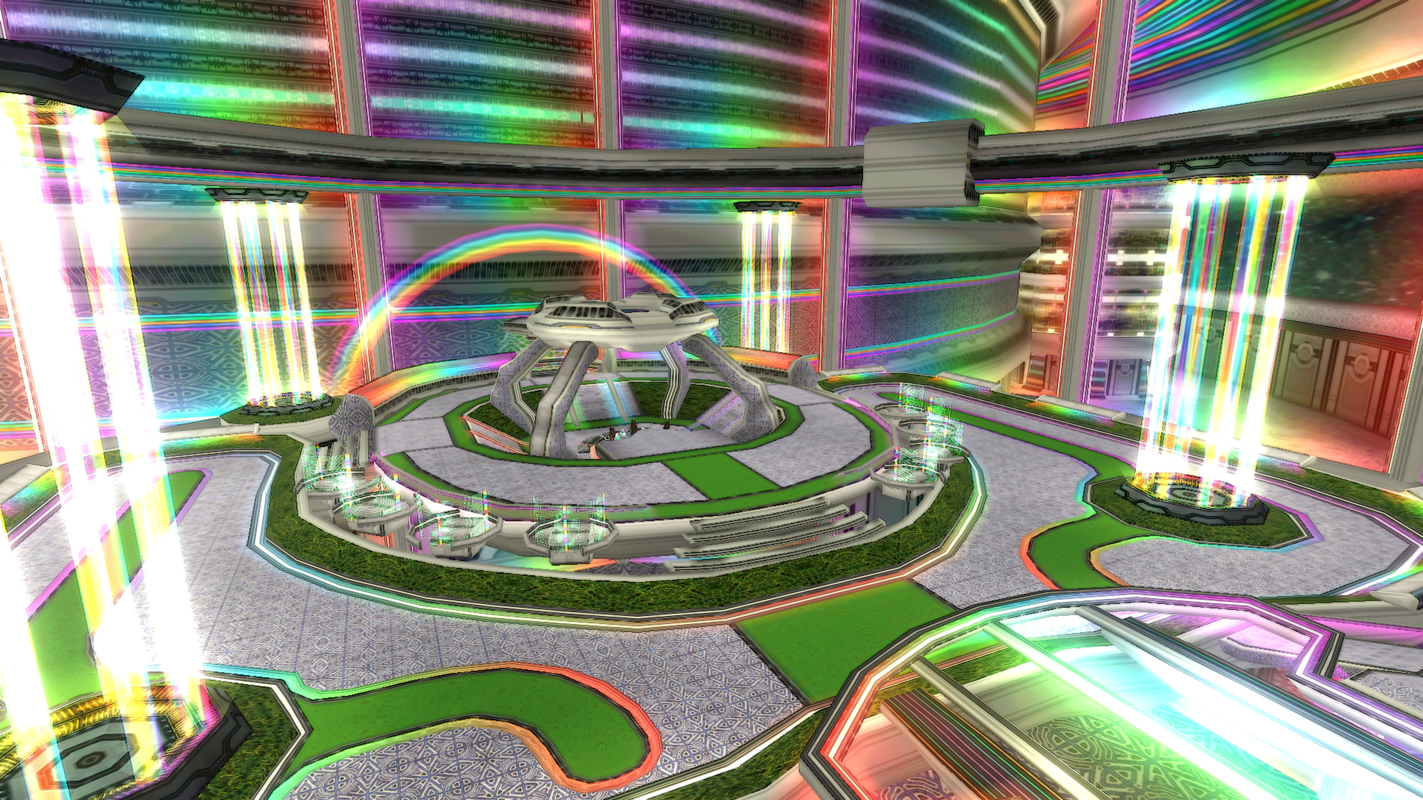
Prismatic Paradise Lobby 8 (01/10/2024)
"A luminous, rainbow themed lobby with a dreamy aesthetic!"
►Download ♥
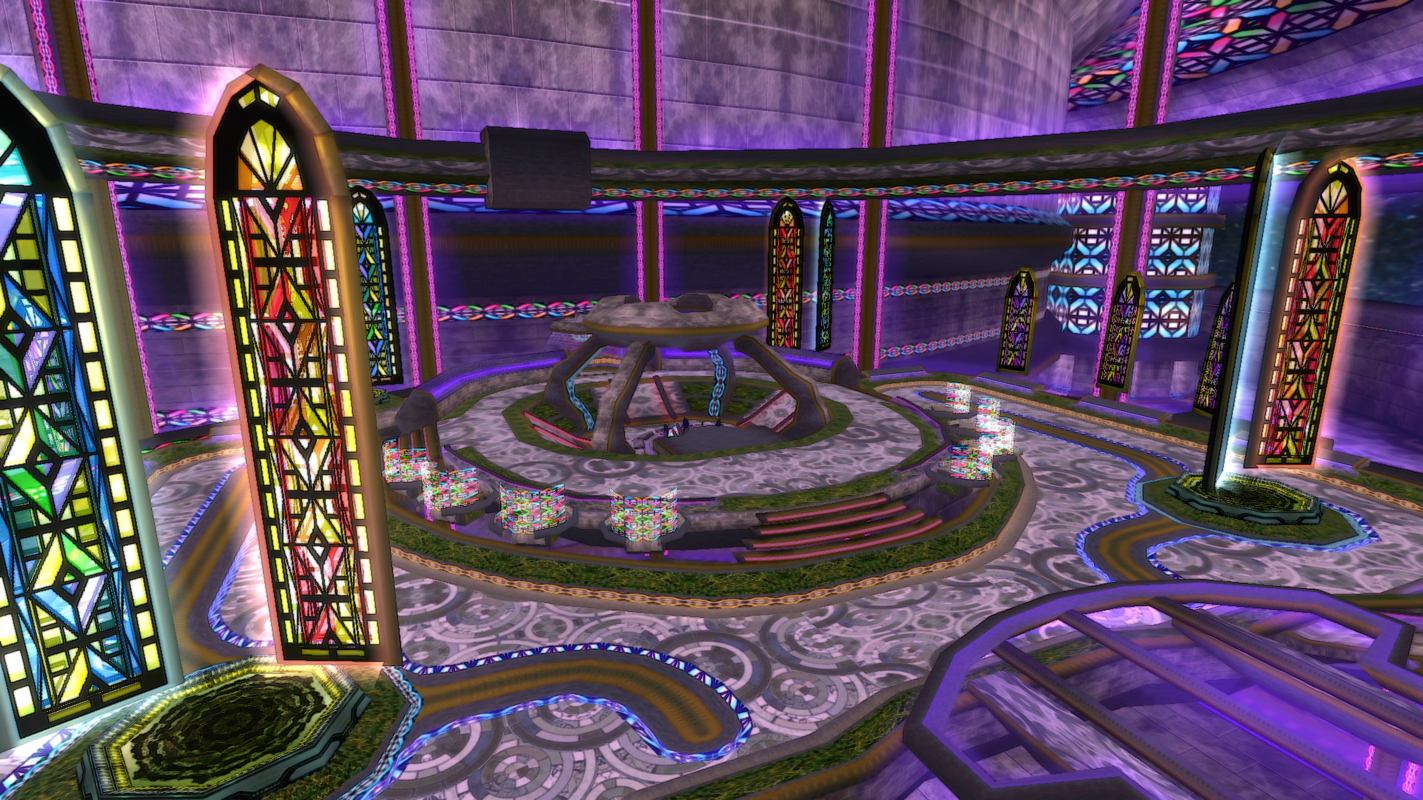
Castle Courtyard Lobby 9 (04/30/2024)
"An ancient, castle themed lobby with stained glass accents!"
►Download ♥
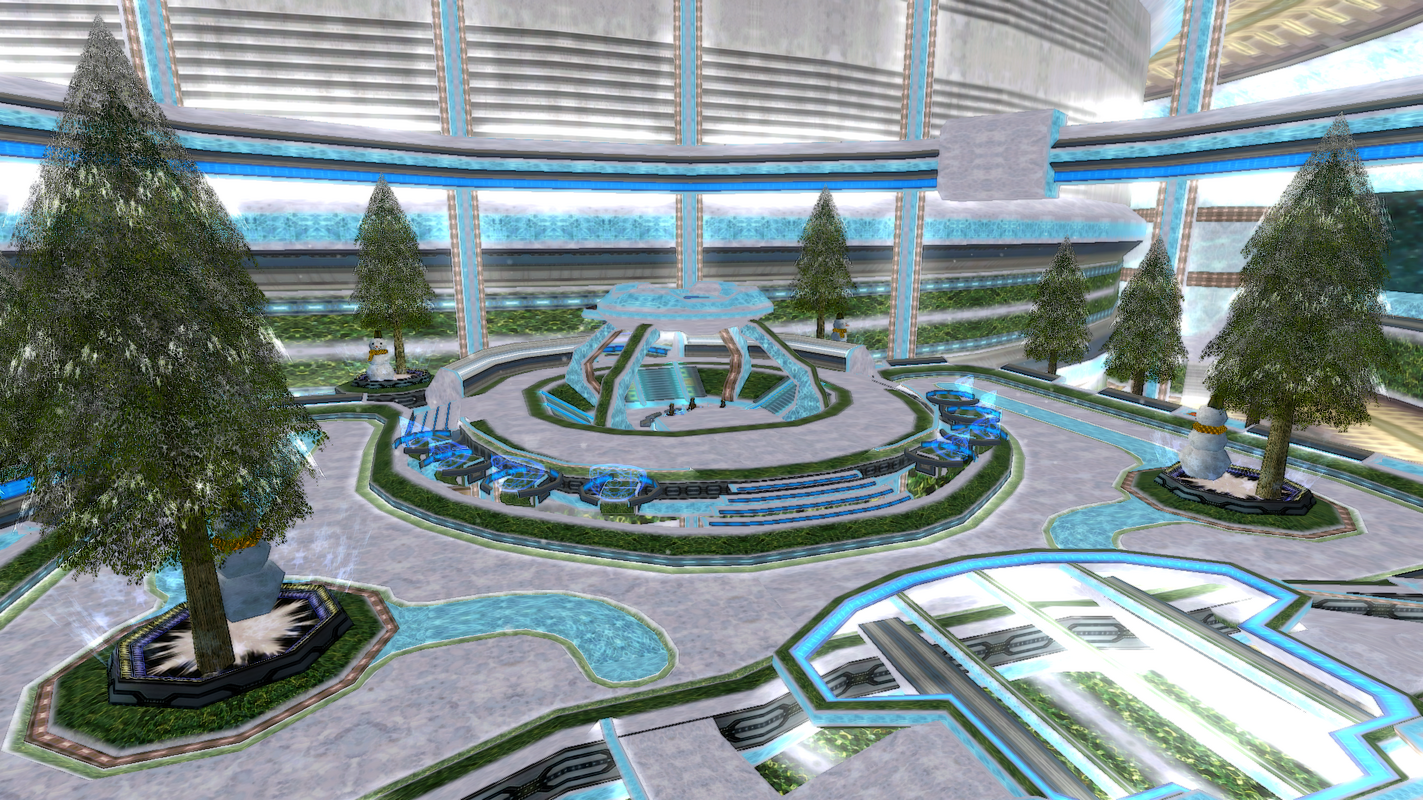
Frosty Fortress Lobby 10 (11/12/2024)
"A frosty, snow filled lobby, perfect for cold weather enthusiasts!"
►Download ♥
"A compilation pack of my lobby skins!"
►Download ♥
Lobby Pack Contents
Arboreal Archway Lobby 1
Pioneer Park Lobby 2
Magitech Meadow Lobby 3
Hydropower Plaza Lobby 4
Deepwater Depot Lobby 5
Verdant Vista Lobby 6
Mainframe Facility Lobby 7
Prismatic Paradise Lobby 8
Castle Courtyard Lobby 9
Frosty Fortress Lobby 10
Arboreal Archway Lobby 1
Pioneer Park Lobby 2
Magitech Meadow Lobby 3
Hydropower Plaza Lobby 4
Deepwater Depot Lobby 5
Verdant Vista Lobby 6
Mainframe Facility Lobby 7
Prismatic Paradise Lobby 8
Castle Courtyard Lobby 9
Frosty Fortress Lobby 10
"An alternative lobby skin, packed full of color with a refreshing aesthetic!"
►Download ♥
Pioneer Park Lobby 2 (08/18/2023)
"A clean, grass filled park for hunters to relax in!"
►Download ♥
Magitech Meadow Lobby 3 (09/07/2023)
"A mystical and industrial lobby, themed around magic and machine!"
►Download ♥
Hydropower Plaza Lobby 4 (09/22/2023)
"A calming plaza for hunters to cool off in!"
►Download ♥
Deepwater Depot Lobby 5 (11/20/2023)
"An oceanic themed lobby for the seafaring hunter!"
►Download ♥
Verdant Vista Lobby 6 (11/29/2023)
"A cozy and serene lobby that's perfect for birdwatching!"
►Download ♥
Mainframe Facility Lobby 7 (11/29/2023)
"A high-tech lobby with a bright, futuristic look!"
►Download ♥
Prismatic Paradise Lobby 8 (01/10/2024)
"A luminous, rainbow themed lobby with a dreamy aesthetic!"
►Download ♥
Castle Courtyard Lobby 9 (04/30/2024)
"An ancient, castle themed lobby with stained glass accents!"
►Download ♥
Frosty Fortress Lobby 10 (11/12/2024)
"A frosty, snow filled lobby, perfect for cold weather enthusiasts!"
►Download ♥
Skins that change the look of areas in Episode 1!
Forest Pack (04/30/2024)
"A compilation pack of my forest skins!"
►Download ♥
Pioneer 2 Grass (08/08/2023)
"Green grass added next to the bank of Pioneer 2!"
►Download ♥ [N-VH] ►Download ♥ [ULT]
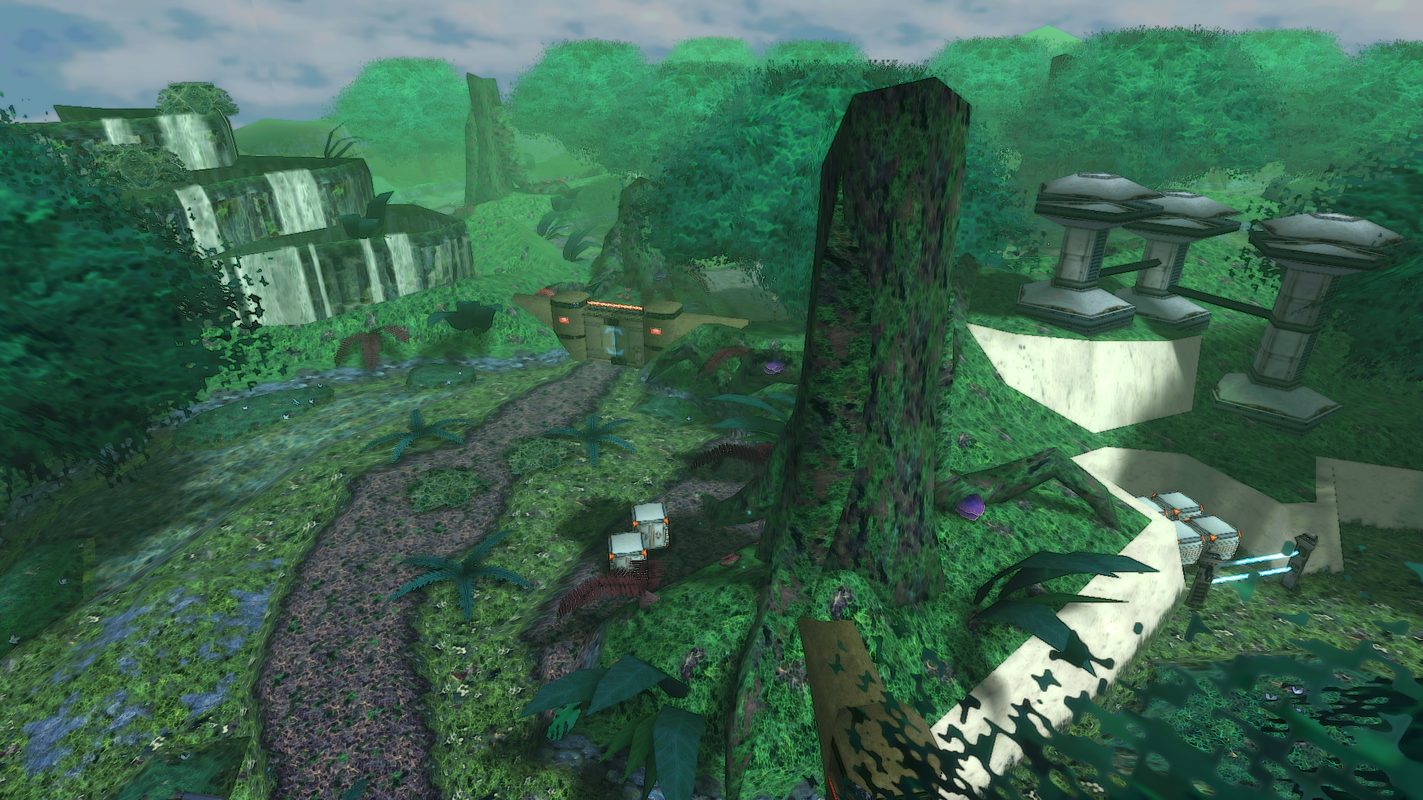
Azure Forest 1 (08/11/2023)
"Forest 1 with a blue toned color scheme!"
►Download ♥ [N-VH] | ►Download ♥ [ULT]
Poison Forest 2 (08/11/2023)
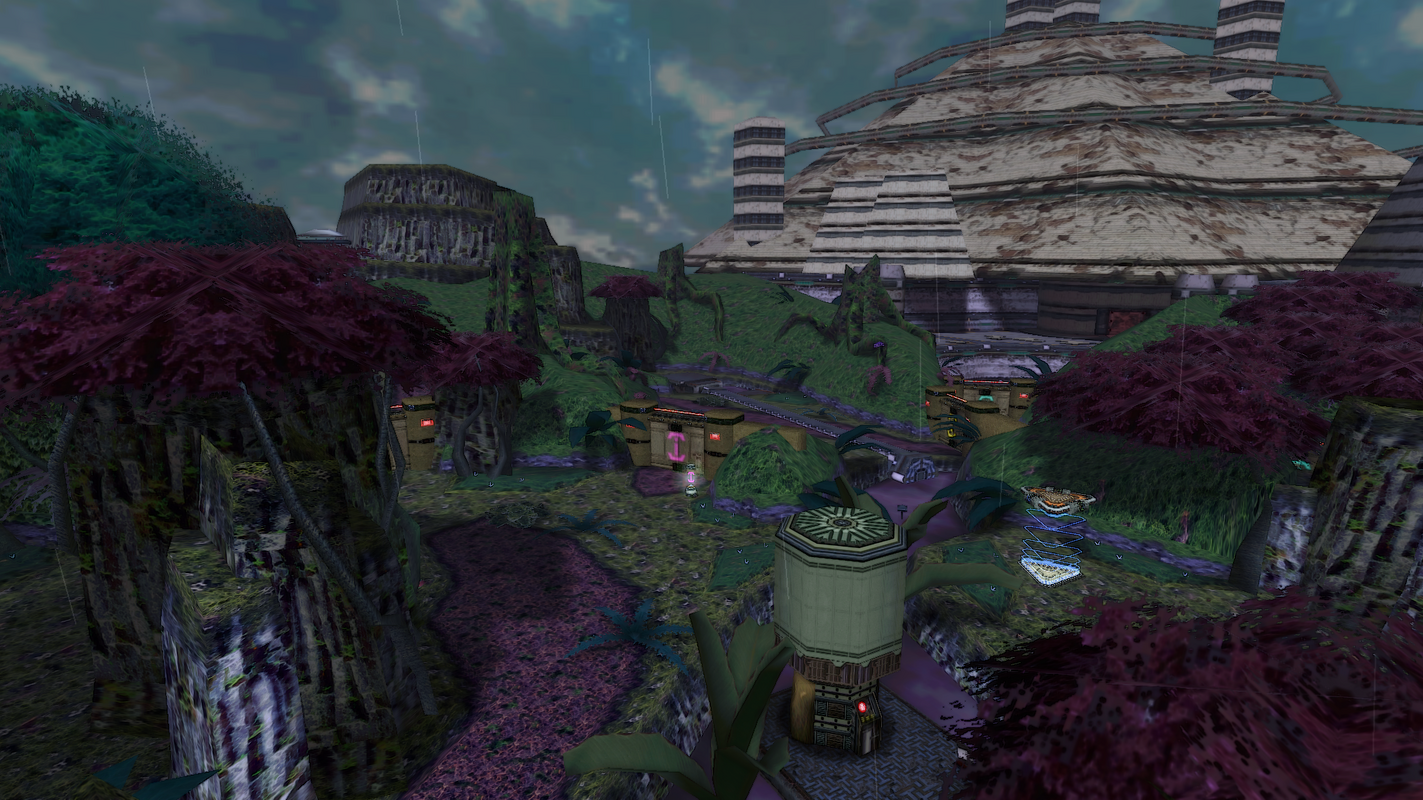
"A purple themed Forest 2, with poisonous water!"
►Download ♥ [N-VH] | ►Download ♥ [ULT]
Magma Moss Caves 1 (11/11/2024)
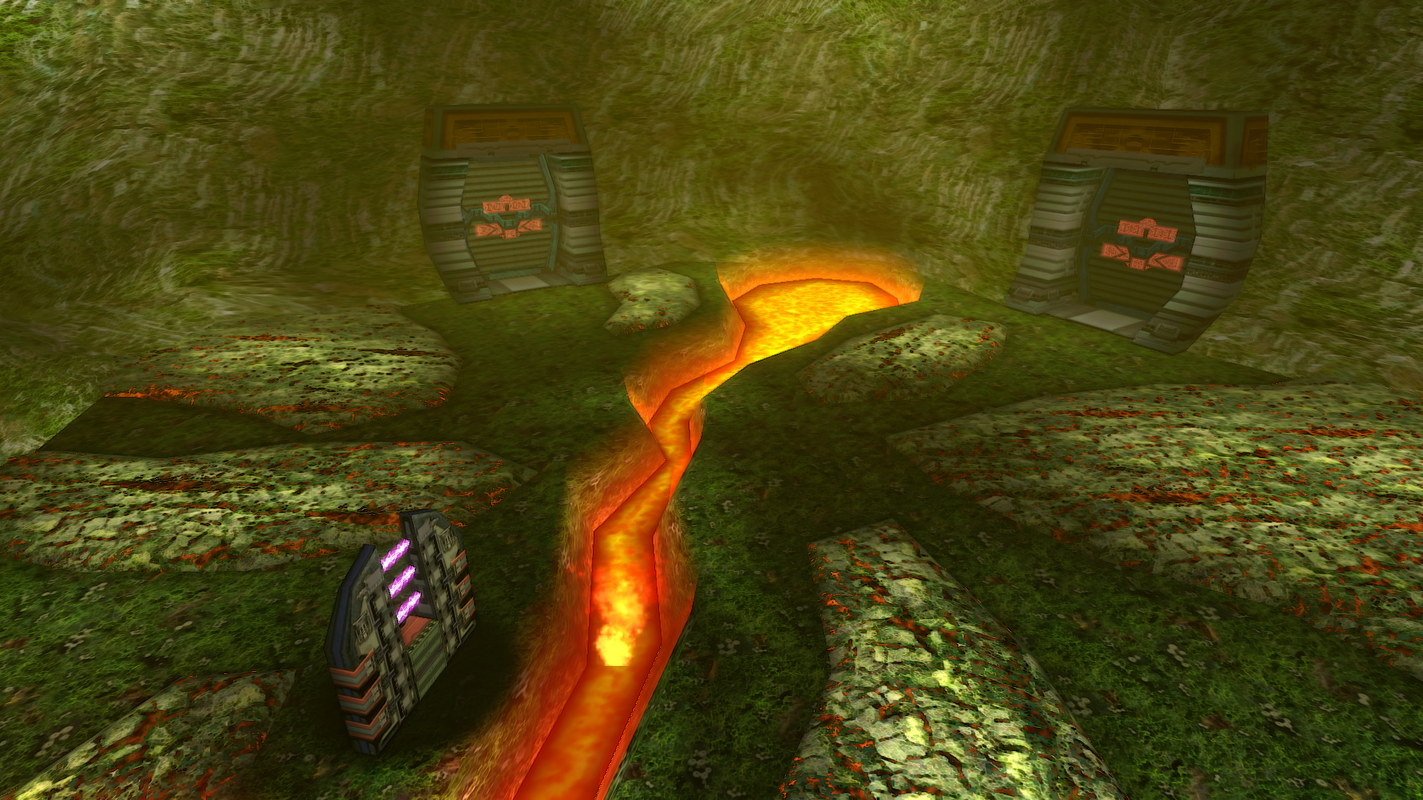
"A mossy, lava filled cavern lurking underneath the forest!"
►Download ♥ [N-VH] ►Download ♥ [ULT]
Industrial Caves 1 (04/27/2020)
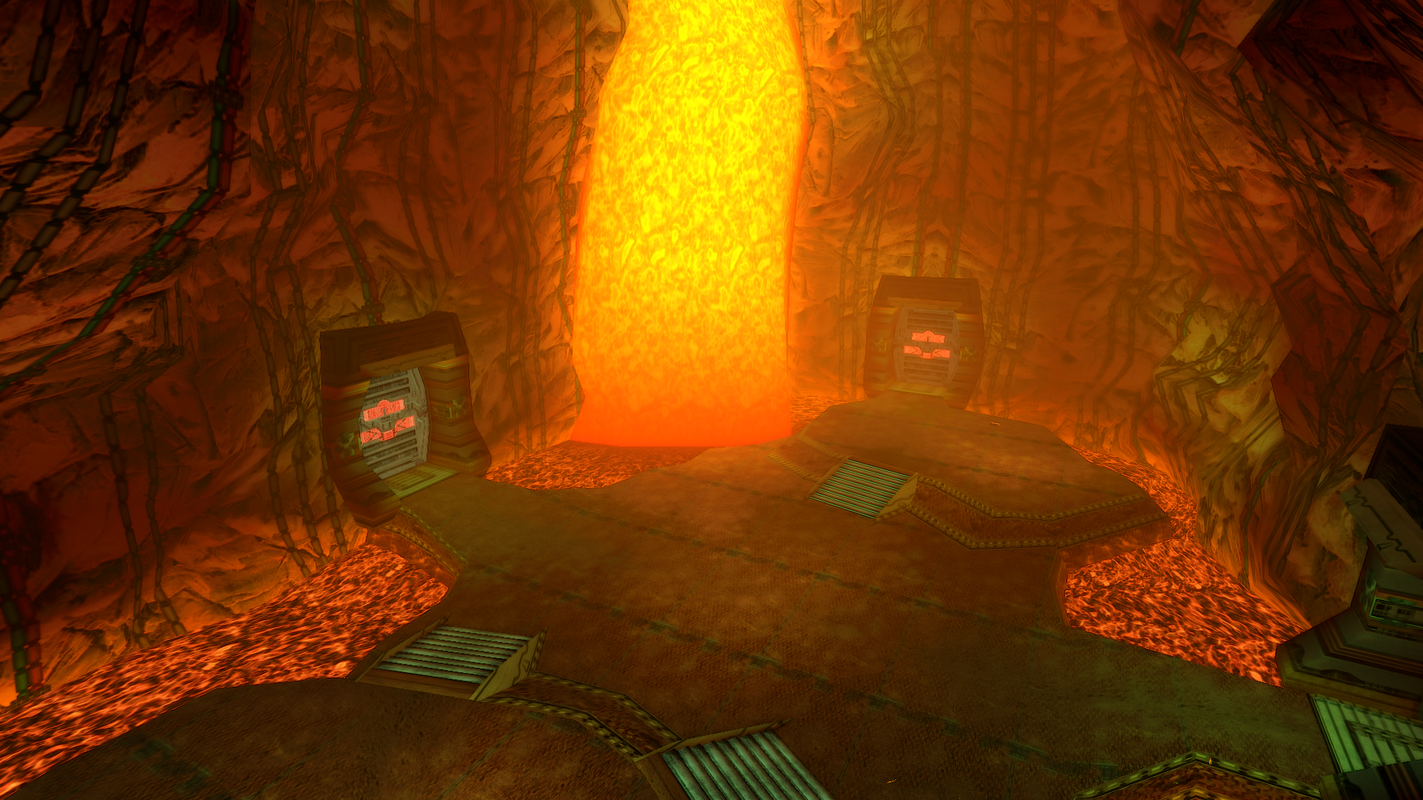
"An industrial makeover for Caves 1, full of metal and wires!"
►Download ♥ [N-VH]
"A compilation pack of my forest skins!"
►Download ♥
Forest Pack Contents
Azure Forest 1 [N-VH] & [ULT]
Poison Forest 2 [N-VH] & [ULT]
Azure Forest 1 [N-VH] & [ULT]
Poison Forest 2 [N-VH] & [ULT]
"Green grass added next to the bank of Pioneer 2!"
►Download ♥ [N-VH] ►Download ♥ [ULT]
Azure Forest 1 (08/11/2023)
"Forest 1 with a blue toned color scheme!"
►Download ♥ [N-VH] | ►Download ♥ [ULT]
Poison Forest 2 (08/11/2023)
"A purple themed Forest 2, with poisonous water!"
►Download ♥ [N-VH] | ►Download ♥ [ULT]
Magma Moss Caves 1 (11/11/2024)
"A mossy, lava filled cavern lurking underneath the forest!"
►Download ♥ [N-VH] ►Download ♥ [ULT]
Industrial Caves 1 (04/27/2020)
"An industrial makeover for Caves 1, full of metal and wires!"
►Download ♥ [N-VH]
Skins that change the look of areas in Episode 2!
Skins that change the look of areas in Episode 4!
Skins that change the look of player characters!
★ Skinning Resources ★
This section here will have all the applications you need along with 2 tutorials to help get you started!
Skinning can be a bit confusing at first but hopefully all of this will help with that!
If you have any questions about skinning, please feel free to ask me!
It's best to get in contact with me through the Ephinea Discord!
Make sure to back up your files!
► PSO Mod Tools ◄
► How To Edit Texture Files ◄
► How To Edit Lighting Files ◄
This section here will have all the applications you need along with 2 tutorials to help get you started!
Skinning can be a bit confusing at first but hopefully all of this will help with that!
If you have any questions about skinning, please feel free to ask me!
It's best to get in contact with me through the Ephinea Discord!
Make sure to back up your files!
► PSO Mod Tools ◄
This is an all-in-one download that contains a folder of all the applications you'll need for making your own skins!
►Download ♥
Mod Tools Included
TextureManager.exe (For opening .xvm/.afs/.bml/.nj files and importing/exporting .dds files, your main skinning tool.)
Lumiere.exe (For opening and editing n.rel files, this is used for editing most lighting in levels.)
GSLUpater.exe (For importing/exporting and opening up .gsl files, more specifically data.gsl.)
► How To Edit Texture Files ◄
I highly recommend using GIMP for editing .dds files. It's free and very easy to use!
Open up TextureManager.exe and navigate to your "EphineaPSO" folder and find the .xvm/.afs/.bml/.nj file(s) you are looking to edit.
To do this select the folder icon or "File>Load".
Open up the .xvm/.afs/.bml/.nj file and you will be presented with a list of .dds texture files with their image previewed.
When you find the texture you want to edit, select "Texture>Export DDS" and export the file to your desired location.
NOTE: Some files may be located in "data.gsl" in which you will use GSLUpdater.exe to find and export them.
Usually this involves exporting files from "data.gsl" with GSLUpdater.exe that need to be opened with TextureManager.exe once exported.
Any files that you edit that belong to "data.gsl" do not have to be imported back in.
Put them in the "data" folder located in your "EphineaPSO" folder and they will automatically be overridden without having to edit the original file.
Once you have exported the .dds file(s) you want to edit from their parent .xvm/.afs/.bml/.nj file(s), start up GIMP.
Open up your .dds file(s) and make the changes you want to it in GIMP, and then export it as a .dds.
Select BC1/DXT1 (DXT1a or DXT3 if alpha is included/needed) compression, and generate mipmaps if needed!
NOTE: TextureManager.exe will denote if a .dds file has mipmaps.
Be sure to make note of which original textures utilize mipmaps and those that don't.
After you have exported your edited .dds file(s) with GIMP go ahead and open up TextureManager.exe.
Use TextureManager.exe to navigate to the .xvm/.afs/.bml/.nj file(s) that contains the .dds file(s) you are looking to replace.
Open up the .xvm/.afs/.bml/.nj, select the .dds texture file(s) you want to replace and select "Texture>Import DDS".
Replace with the new .dds file(s) you edited in GIMP.
After you're done replacing all .dds files with their edited versions click the save icon or "File>Save".
And you're done! Go ahead and start up PSO to see your new skin in game!
NOTE: You can have PSO open and running in the background while you're skinning!
Changes will be reflected as long as you reload the area you are in.
For example, if you are editing Forest 1's textures, you just need to reload the area to see your changes reflected.
Simply drop a telepipe, pipe into town and then pipe back in and your changes will be loaded in.
If you ever have any questions about this process don't hesitate to ask me! ♥
► Additional Information Provided by Echelon ◄
About exporting:
"PSOBB only accept 3 formats to my knowledge:
-DXT1: no alpha (means no transparency)
-DXT1a: 1 bit alpha (pixels are either fully transparent or opaque)
-DXT3: explicit alpha (pixels are semi-transparent)
Make sure to set the compression effort to Highest.
Generate Mipmaps: checked [Filter Type "Box"] IF needed."
About Mipmaps:
"There's only two reasons to use mipmaps or not, performances and artistic choices.
Since performance on PC isn't really an issue, we're left with art direction.
Do you want things to look smooth and blurry in the distance by displaying increasingly smaller copies of the images called Mipmaps (Generally used for terrain) or do you want to "hard" display the pixels of the image at the same size no matter the distance (UI doesn't need Mipmaps, skies should not be resized depending on the distance, Characters look weird and blurry depending on the camera distance, item boxes too blurry in the distance...)."
"However, for an example, if I'm using an higher resolution texture on an item box (my custom item box is in 256x256 compared to the original 64x64) since the image is bigger (and so are the mipmaps) the distance is increased before it gets really blurry, so I prefer using mipmaps, to me it gives a more "refined", less aliased look, each to their own.
But back then, the devs probably wanted the players to spot instantly those loot boxes on their small TV screens, so they chose no mipmaps so the items are eye-catching and really stand out from the environment."
-Echelon
► How To Edit Lighting Files ◄
To edit the lighting of an area you will be using Lumiere.exe to edit n.rel files.
Go ahead and boot up Lumiere.exe (run in administrator mode, otherwise it will not work properly).
Change the language to English by clicking on the American flag on the bottom right.
The language is set to French by default.
Select "File(s) to Read" and find the n.rel file(s) you are wanting to edit.
Select "Directory where to save the file(s)" and choose the folder that contains the n.rel file(s) you are editing.
Navigate to "Color Settings" at the top.
Choose a color you want, it is hex based so I like to use Google's built in Color Picker to get the hex code(s) I need.
Once you have found your desired color go ahead and type the hex code in next to "Color chosen".
Go to "Apply from this color:" and check the boxes for "Hue (Color)" and "Saturation (White Level)".
In most cases you will be leaving "Lightness (Black Level)" unchecked.
I always leave "Generate a color for each file selected" and "Modify Alpha Value" unchecked.
After you have done all that go ahead and select "Apply" at the bottom left.
And you're done! Go ahead and start up PSO to see your new lighting in game!
NOTE: You can have PSO open and running in the background while you're editing lighting!
Changes will be reflected as long as you reload the area you are in.
For example, if you are editing Forest 1's lighting, you just need to reload the area to see your changes reflected.
Simply drop a telepipe, pipe into town and then pipe back in and your changes will be loaded in.
If you ever have any questions about this process don't hesitate to ask me! ♥

♥ Thank you for downloading my skins! Your downloads and support are my motivation! ♥
Last edited:

