JWB 1991
Member
Hello, and welcome to my tutorial. In this thread, I'll be displaying a method of modification that does not appear to be widely utilized in the modding scene; Considering I've been away from this scene for so long, I wouldn't be surprised if this method is severely outdated, but hopefully the information is useful regardless.
UPDATE - July 5th, 2025:
I've slightly restructured and amended the guide a bit as well as added more information along with fixing up some typos. A huge thank you to Lilyzavoqth for providing info on editing texture indexes!
Also, for anyone that would like the Red Saber and Lavis Cannon Jizai swap, I'll place a link to it here:
1. Introduction
Long ago, Kra/Terra had figured out a method to extract and swap models within full weapon model files, but had never -to my knowledge- expanded upon this method or put out a tutorial, and for some time I believed this knowledge to be lost. After fruitlessly searching through internet archives of forums that no longer exist, I took it upon myself to attempt replicating their research. With this thread, I would like to share my methodology. Full disclaimer; I don't have a significant understanding of hex editing, reverse engineering, or the like, I just wanted to put this out there so that people can toy around and hopefully those more technically inclined than I can figure out more advanced modification with this knowledge (or share what they already know). Without further ado, let's get into it.
2. Required Tools and Useful Resources
Several tools will be required in order to perform these swaps:
3. Tutorial
For this tutorial, we'll be modifying Sange and Yasha by replacing Kamui with Sange, so we'll need a few models.
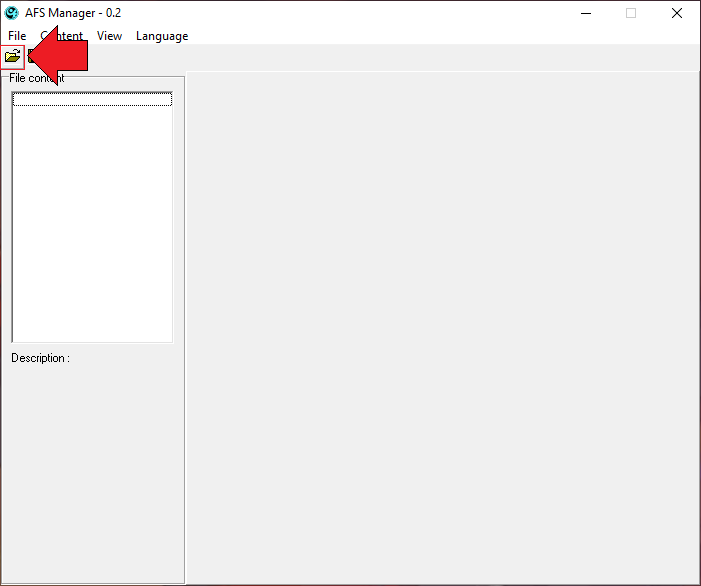
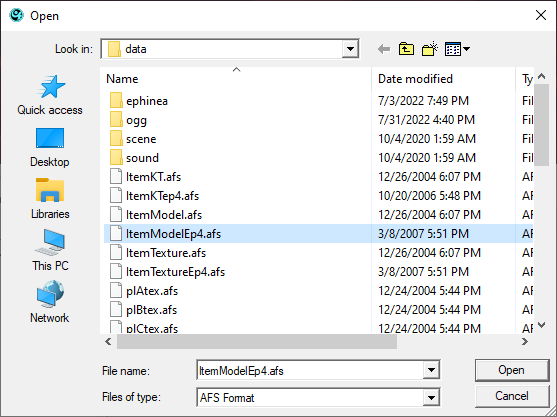
First, we'll need to open AFS Manager and open the weapon models file (ItemModelEp4.afs), which is located in the data folder (\EphineaPSO\data):
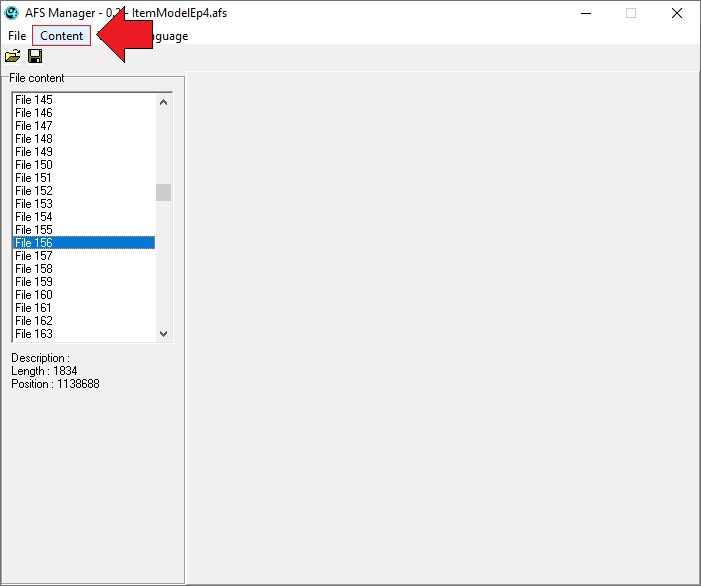
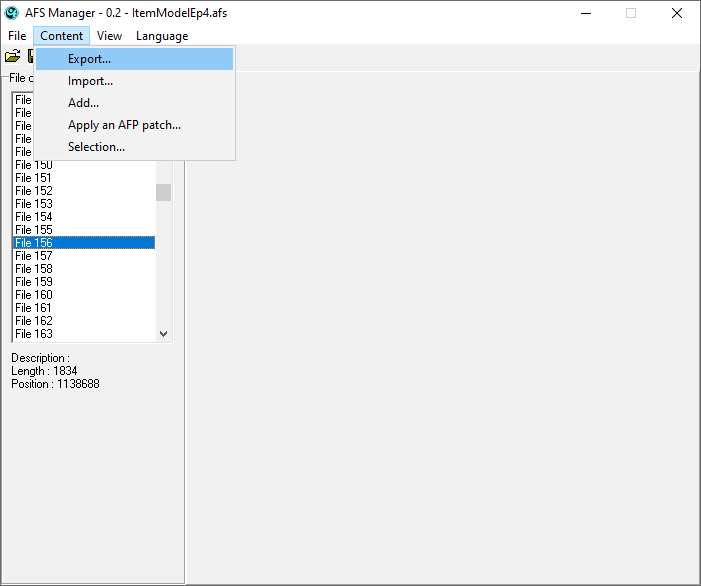
Now that we've opened the file, we'll need to extract a couple of models, so we'll need File 156 and File 198 (Sange alone and Sange and Yasha combined, respectively. Consult Soly's item list for their locations) and extract the files as .prs:
Note: I would recommend creating multiple different folders for the original files and multiple modified files.
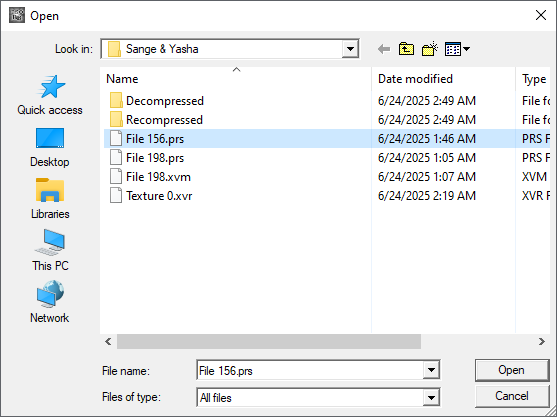
We need to decompress these new files, so we'll use HelpPRS (note, PRSUtil is required for this program to work, and I believe they must also be in the same folder. PRSUtil also always crashes upon opening for me, so I needed HelpPRS for this work. Your mileage may vary) and then navigate to our extracted .prs files:
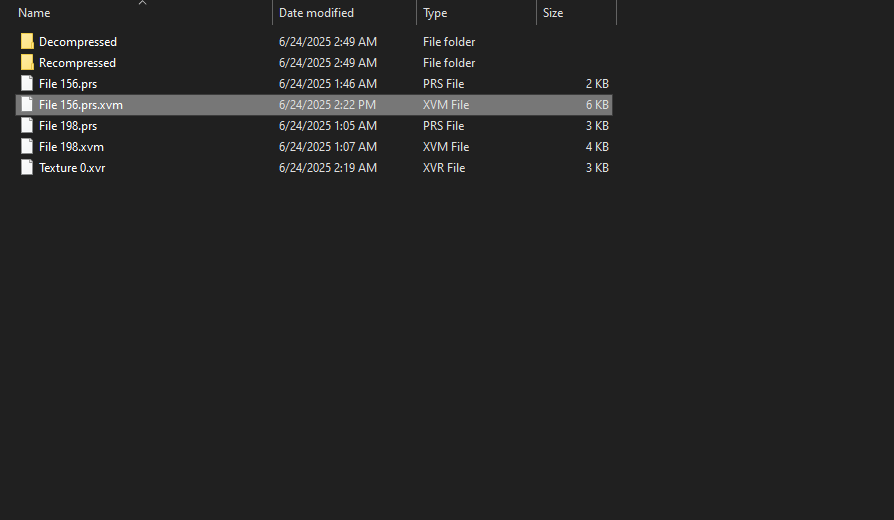
Once decompressed, you'll have an .xvm file:
Be sure to do this for every model you intend to use.
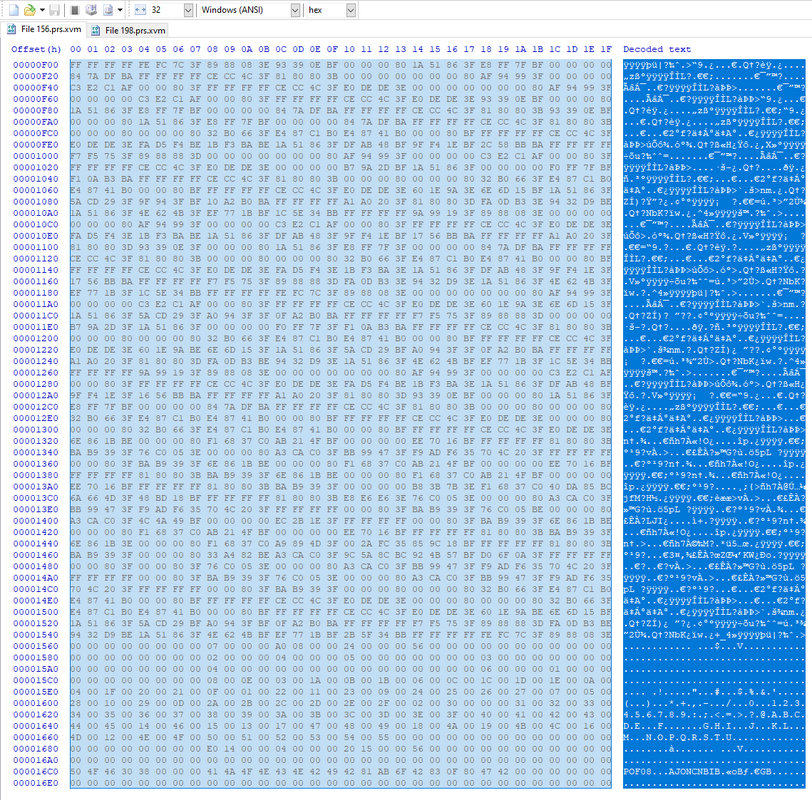
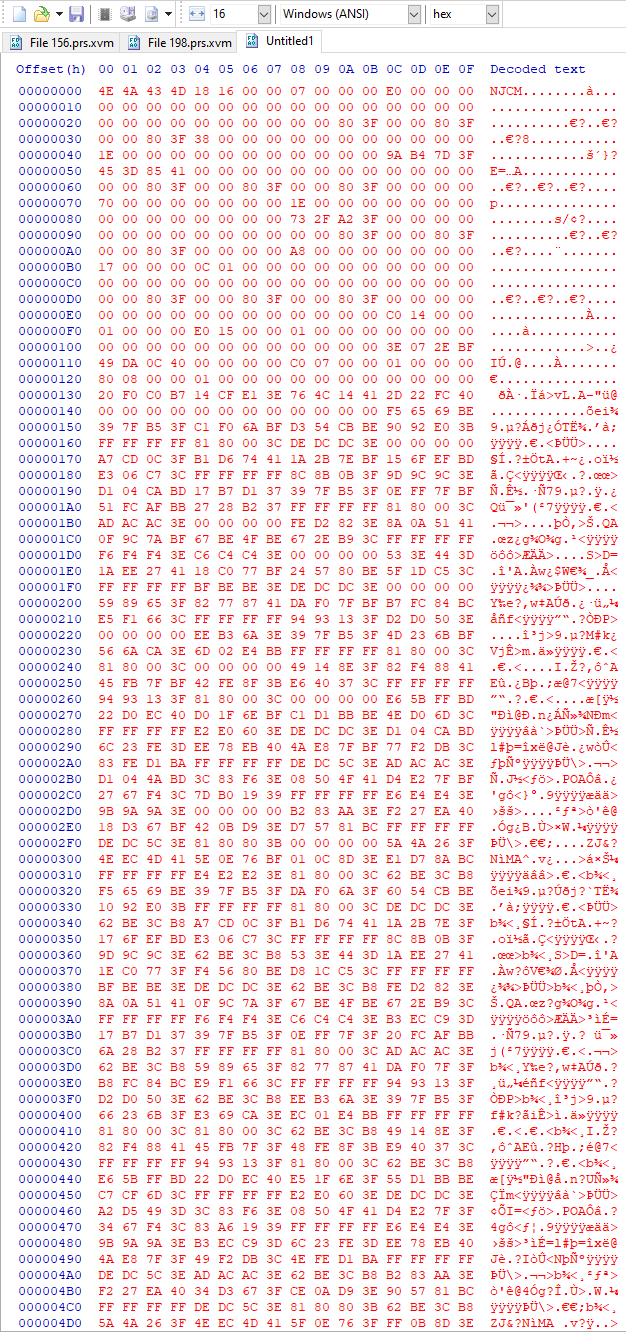
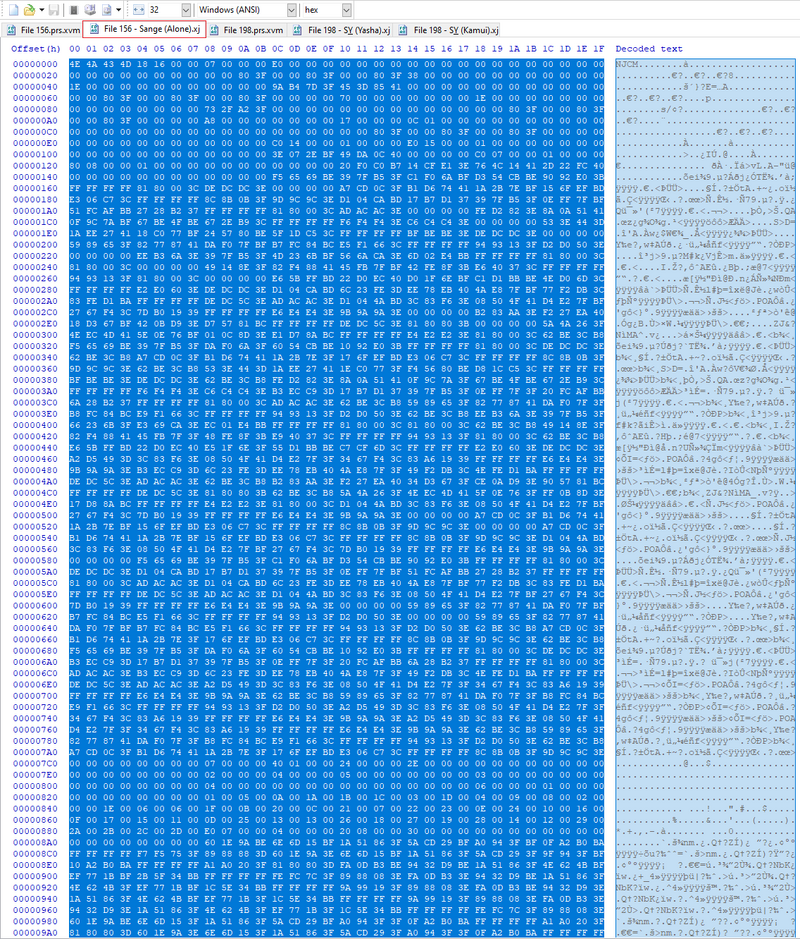
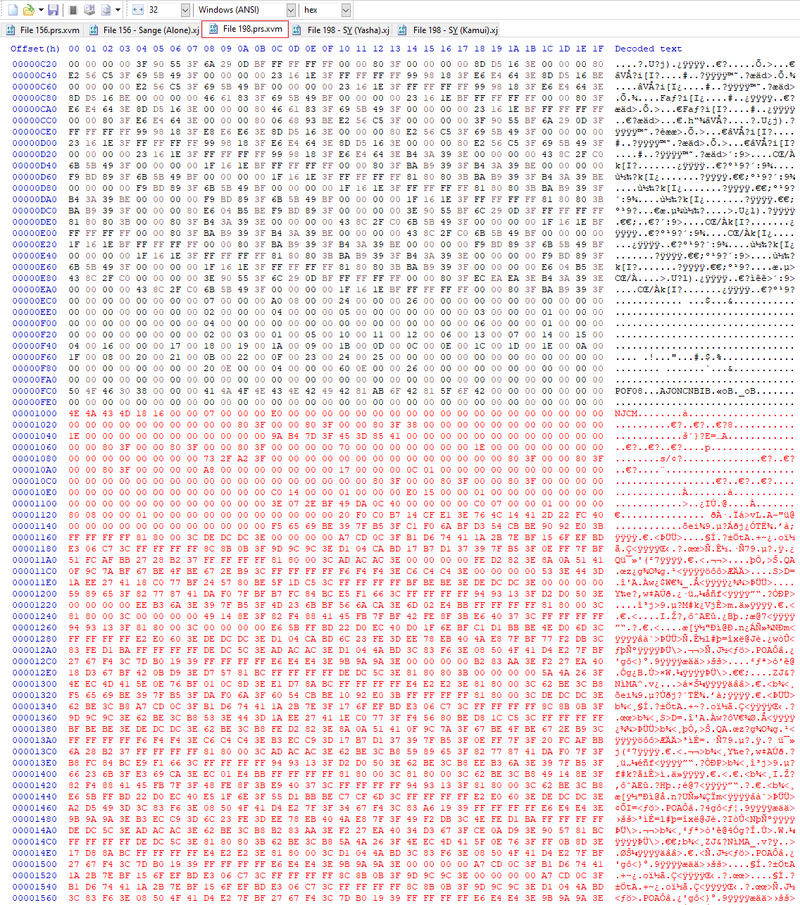
We'll open our newly decompressed files in a hex editor and look for "NJCM" in the decoded text field, starting with the lone Sange model (note: I changed the bytes per row to 32 in order to make it easier for myself to read):
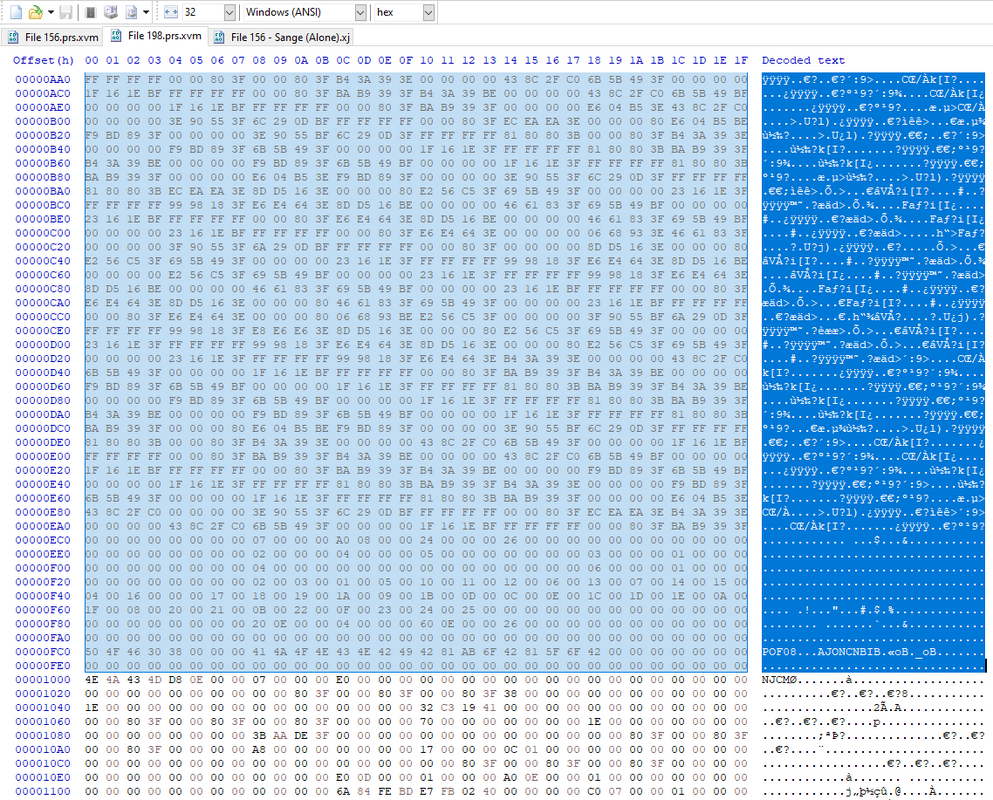
From here, highlight from NJCM all the way to the end of the field, copy the text, and paste it down into a new file:
Once it's pasted into a new file, we're going to save this as an .xj file (you can name this file whatever you wish as long as the type is .xj, I've elected to name mine "File 156 - Sange (Alone).xj"). We'll do the same for the Sange and Yasha model to keep track of which parts of the file is which weapon:
For weapons that have two unique models in them, there will be two NJCM texts, so be sure not to highlight into the second model text (note: since I've already pre-checked these models, I've named the first one "File 198 - S&Y (Yasha).xj" and the second one "File 198 - S&Y (Kamui).xj." We'll be going over how to verify the models in the next section).
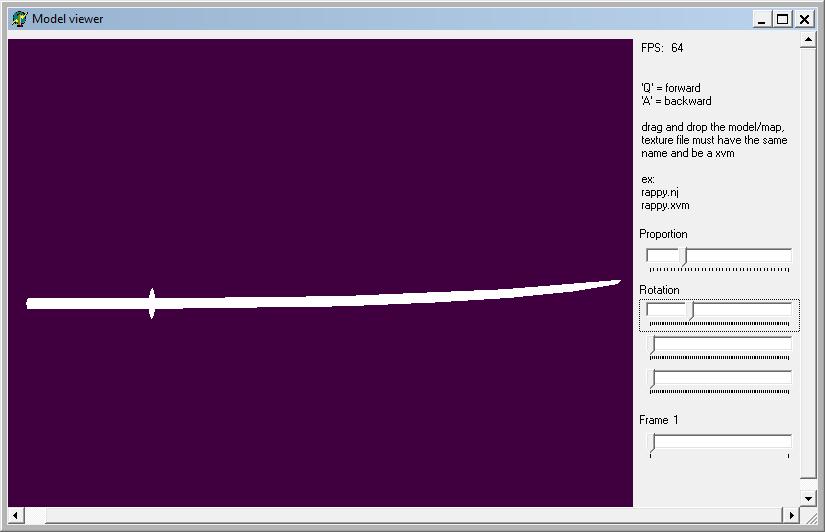
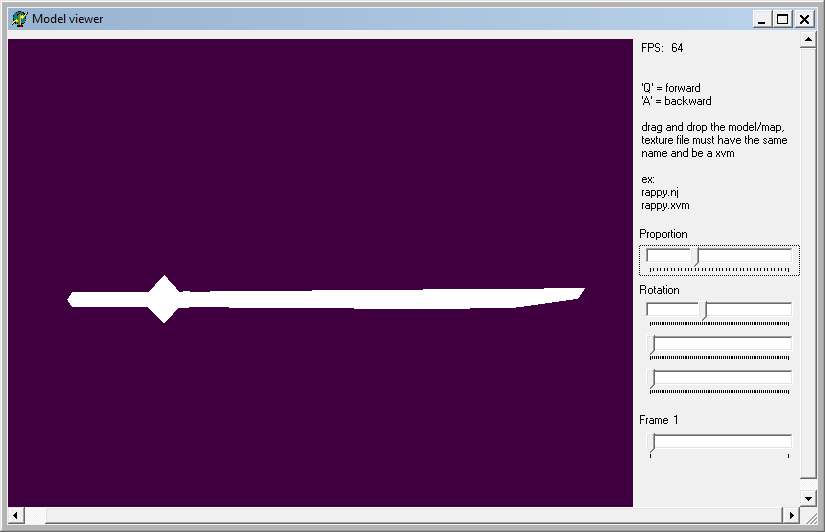
With our new .xj files, we'll drop them into the SCHTHack Modelview program to take a quick look and verify the models were ripped correctly. Simply drag an .xj file into the viewer and give it a quick look, starting with Sange:
Yep, that's Sange alright. Now to give the other models a peak:
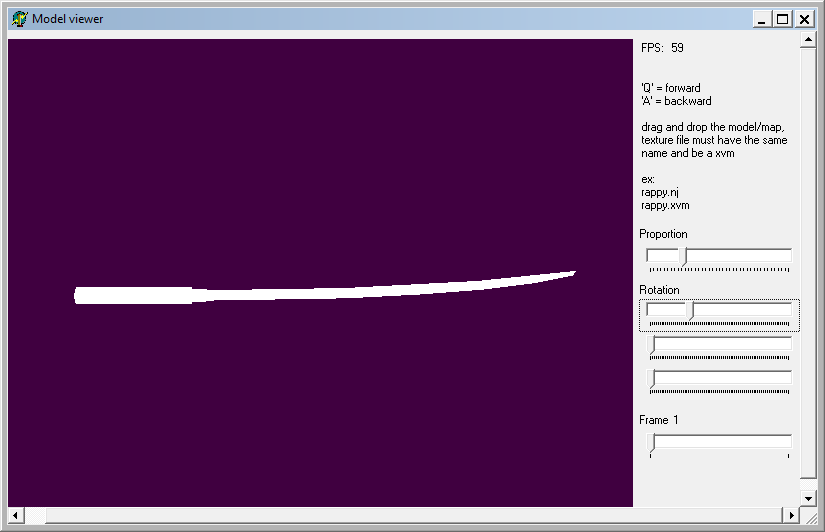
So the first model is Yasha and the second is Kamui, and now we know which one we want to replace.
Going back to the hex editor, open the ripped Sange model, select the entire text, and copy, then move over to the Sange and Yasha model, select the text for the Kamui model portion, paste the Sange text over it, and then save (I elected to save as a new file which I named "File 198 - S&Y (Fixed).prs.xvm" to keep the original intact. You may also be prompted that the new file will be larger, which will need to be accepted):
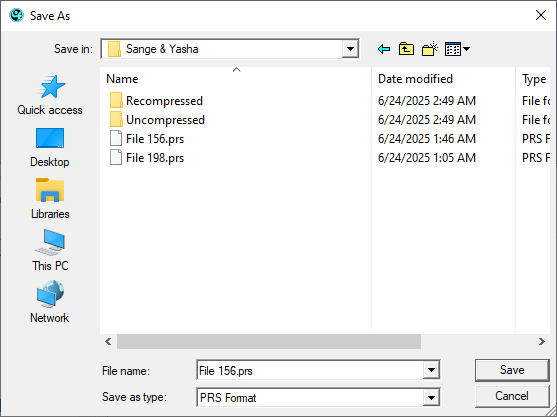
Now that we have our modified model, it's time to recompress it with HelpPRS:
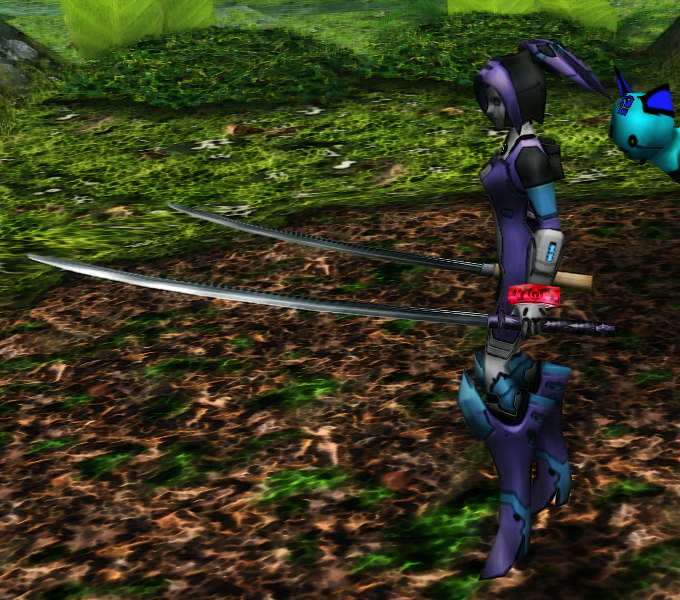
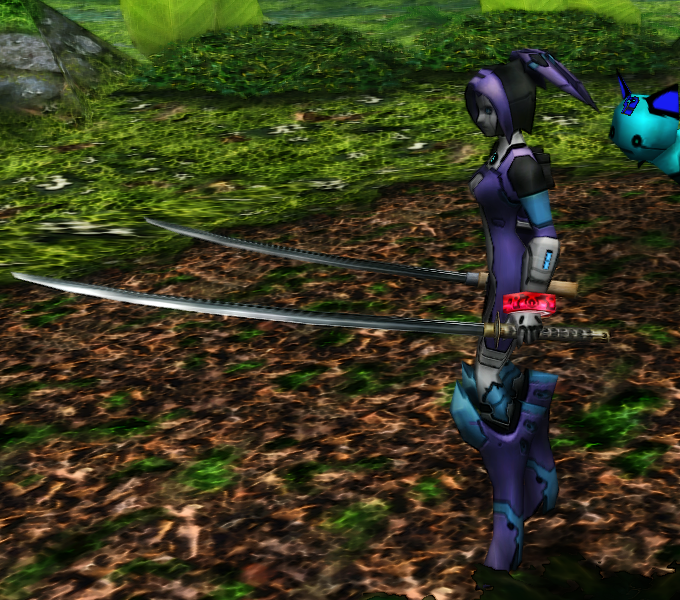
The recompressed file will now be a .prs file again, and in order to test it, must be renamed to "File 198.prs", and then dropped into the custom folder of the Ephinea install (\EphineaPSO\data\ephinea\custom\model). Once dropped into the folder, it's time to check ingame:
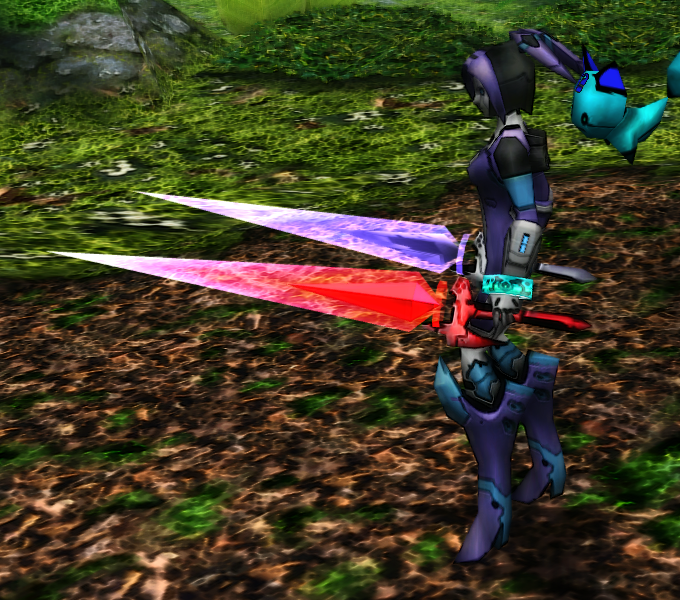
Success! Though we're not quite done yet. The Kamui texture is still present, so we'll need to correct that. Luckily, this part is much easier.
Open up AFS Manager again, but this time open ItemTextureEp4.afs, scroll down to File 198 and extract as a .prs, just like we had with the model (since this will share the same name as the model, be sure to place this in a different folder).
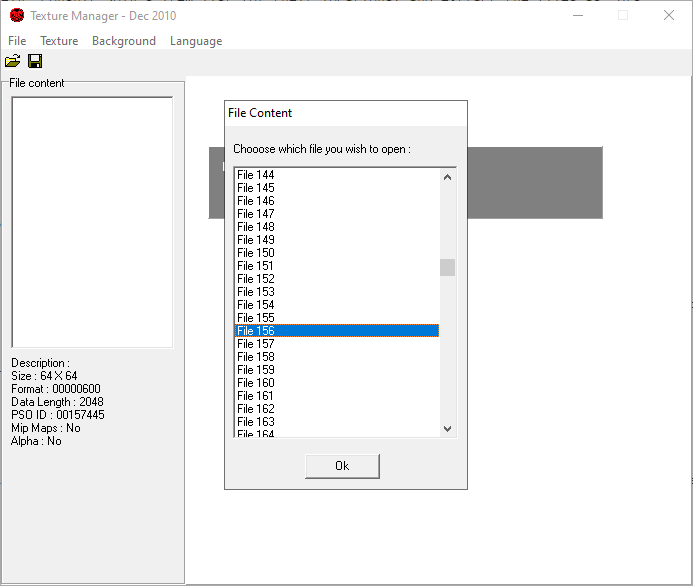
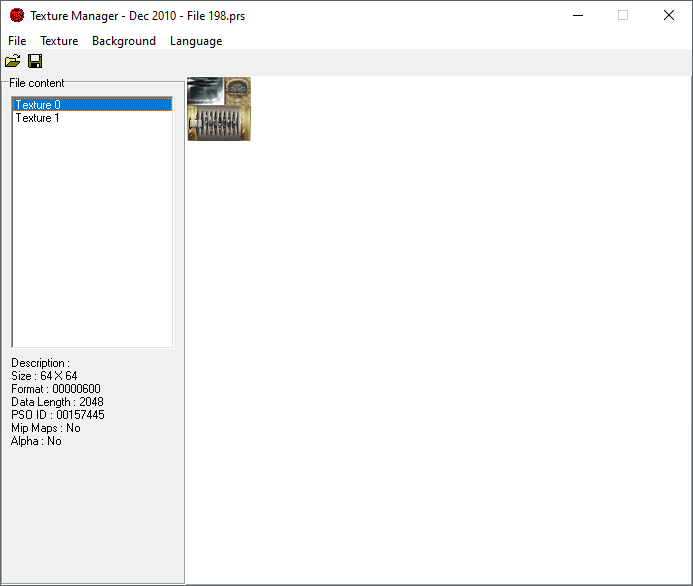
All that's left now is to retrieve a texture and replace Kamui's. Open up Texture Manager, load ItemTextureEp4.afs, then open File 156:
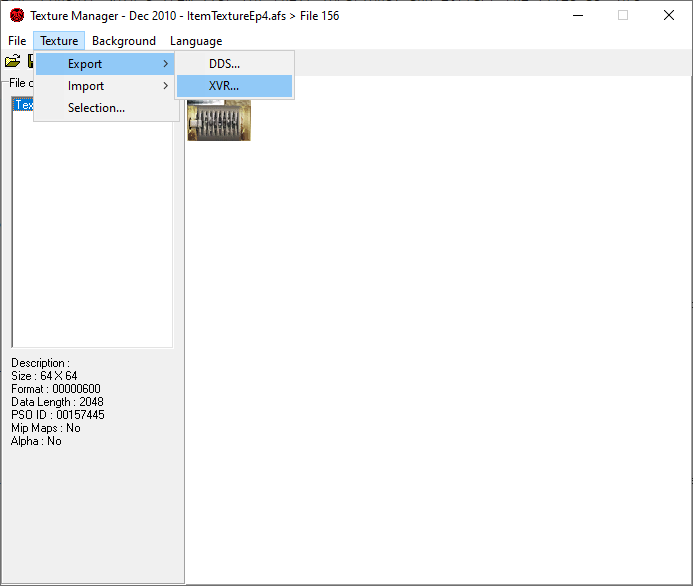
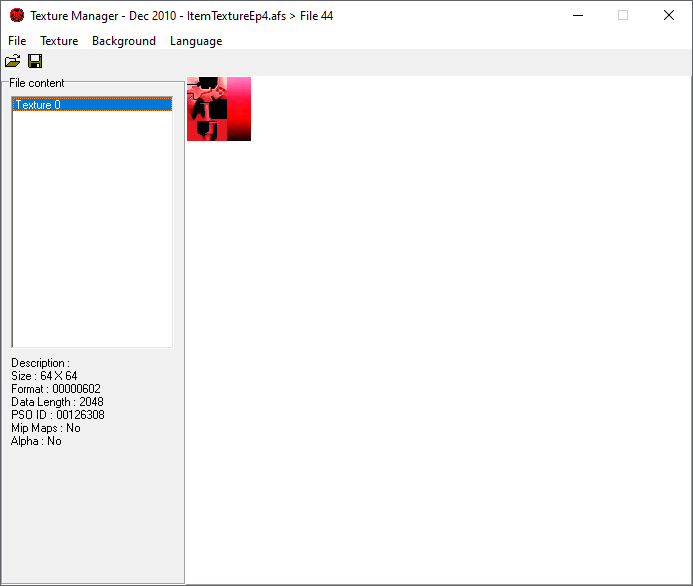
Click on Texture 0 and Export it as a .xvr:
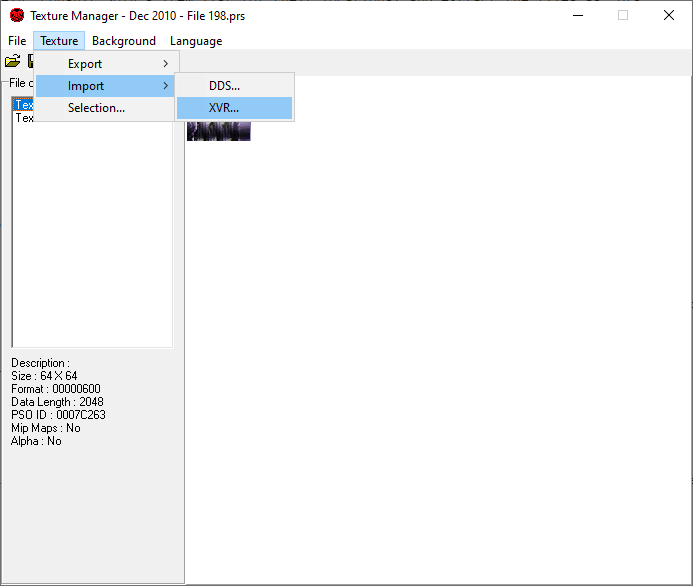
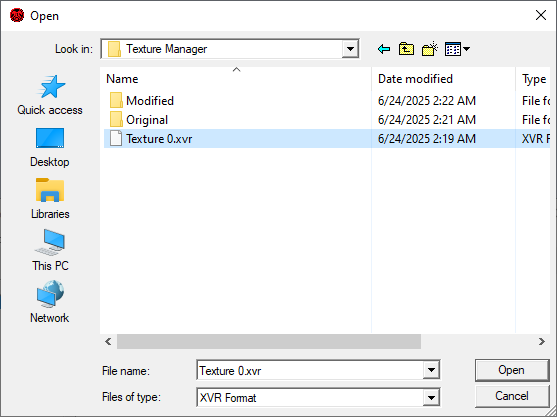
Now load the "File 198.prs" texture file, select Texture 0, and import the .xvr from Sange:
And now Sange's texture has been injected:
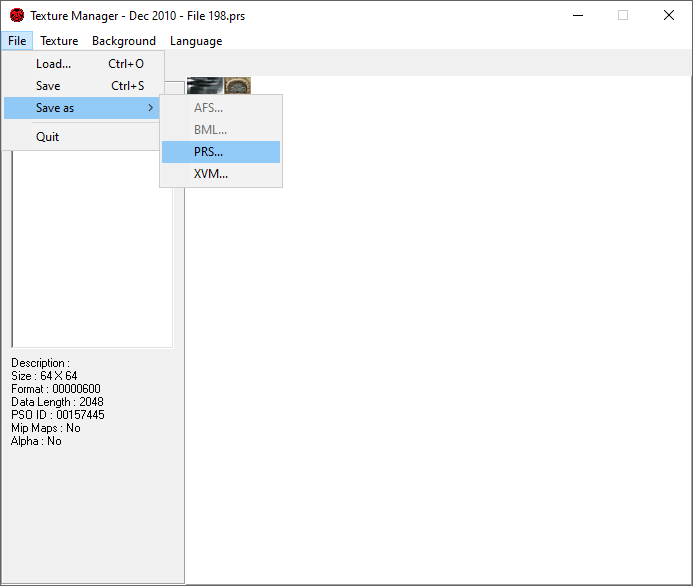
Finally, all that's left is to save as a new file and place it in the \EphineaPSO\data\ephinea\custom\texture folder, and then check ingame (you may have to reload the game in order to load the texture):
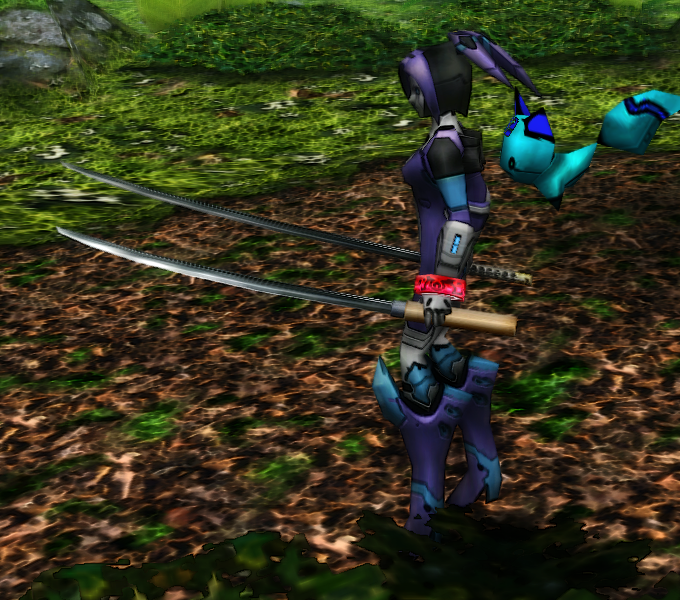
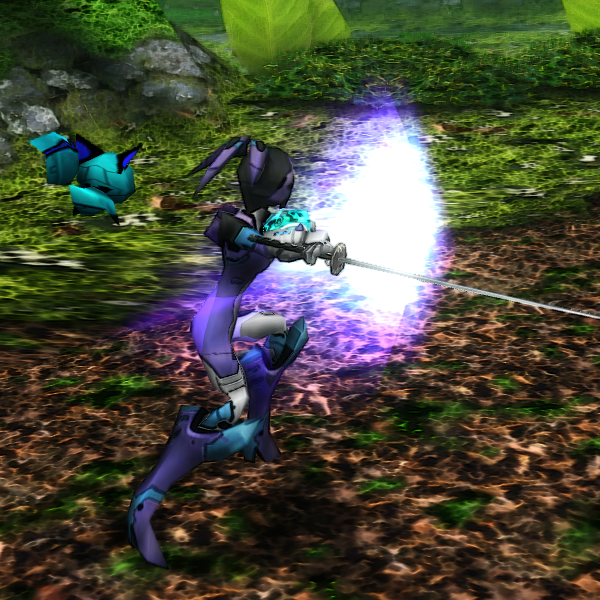
Perfection! With the texture being corrected, this swap is now technically complete, but f you don't like which hand positions the weapons are in, you can change the order of the model files to switch them around:
The first model within the file will be in the right hand, while the second model will be in the left. Despite the models changing list order, the textures themselves don't need to be swapped because the model data determines which texture index they'll use:
4. Current Limitations, Workarounds/Pointers, and Experimentation
Not all weapons can be swapped around without consequence, but with a little bit of cleverness, many can be made functional. As a quick example, I'll show a swap of Jizai with Red Saber and Lavis Cannon:
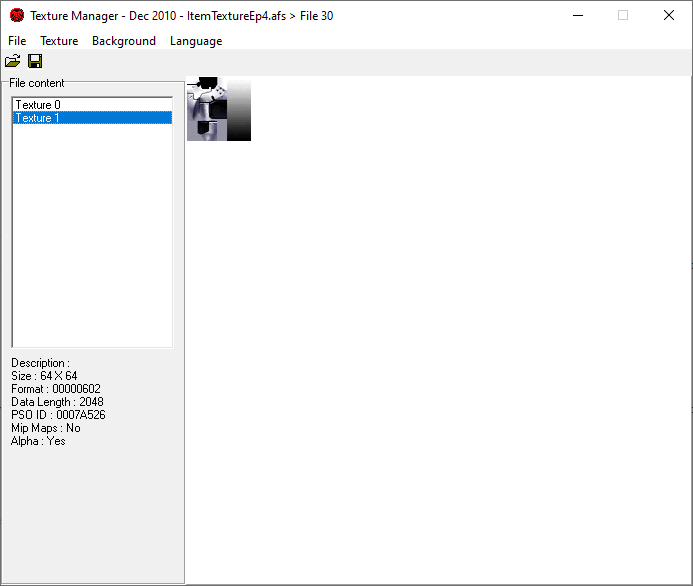
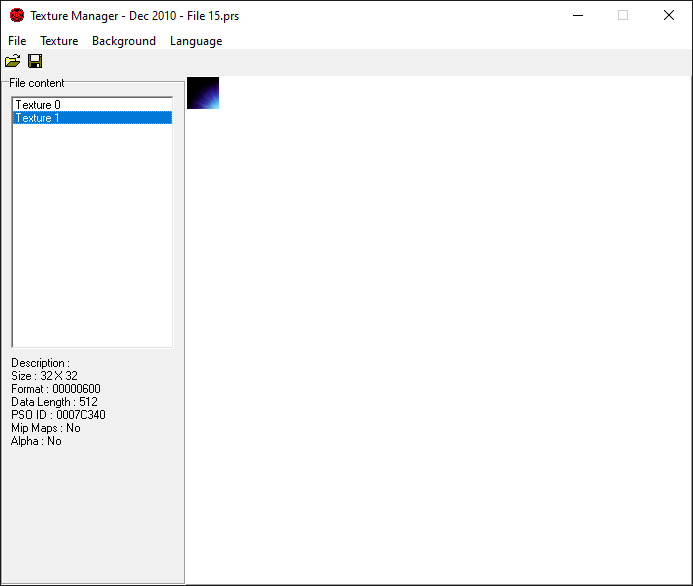
By taking a quick look at the texture files for these weapons, you'll find that Red Saber pulls from Texture 0 while Lavis Cannon pulls from Texture 1, so the texture index data doesn't need to be modified for either model:
Now, normally you could extract these textures, import them into Jizai's texture .prs file and be done with it, but upon getting into a game lobby, the game will crash. I learned that by removing the alpha layer on Lavis Cannon's texture, crashes will no longer occur; why this is I couldn't say, but it's something that should be accounted for when performing your own swaps.
On thing I'll briefly go over as the process is identical, projectiles can also be swapped around:
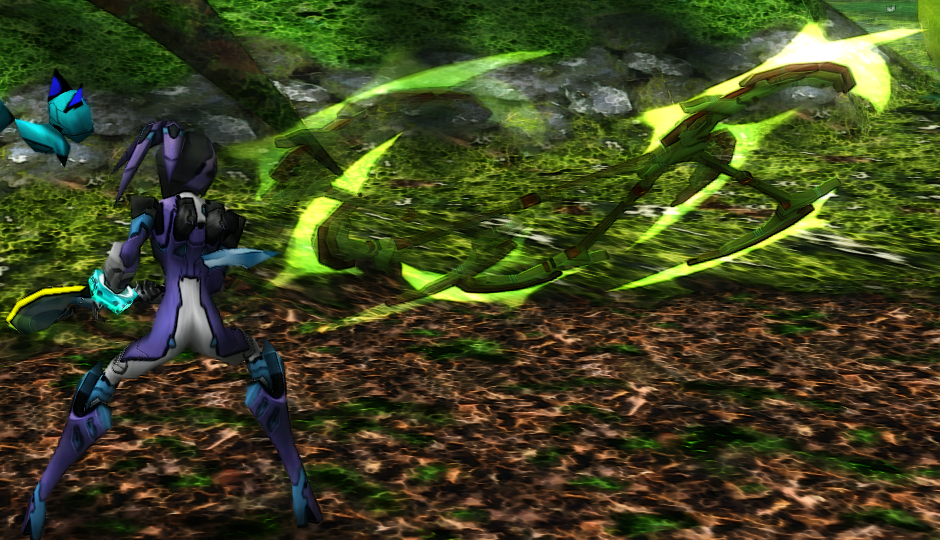
This is an Orotiagito firing a Lavis projectile. With a Lavis Cannon, the projectile's texture index will be 0, but since Orotiagito also uses 0, the projectile will look like a garbled mess, so by changing the projectile's index to 1 we can fix that problem:
With a simple change, this particular swap can be made to work.
It doesn't stop there, either; Projectiles don't necessarily have to be of the traditional variety:
And this is just playing it safe by sticking with weapon models. I imagine even more ambitious swaps can be done.
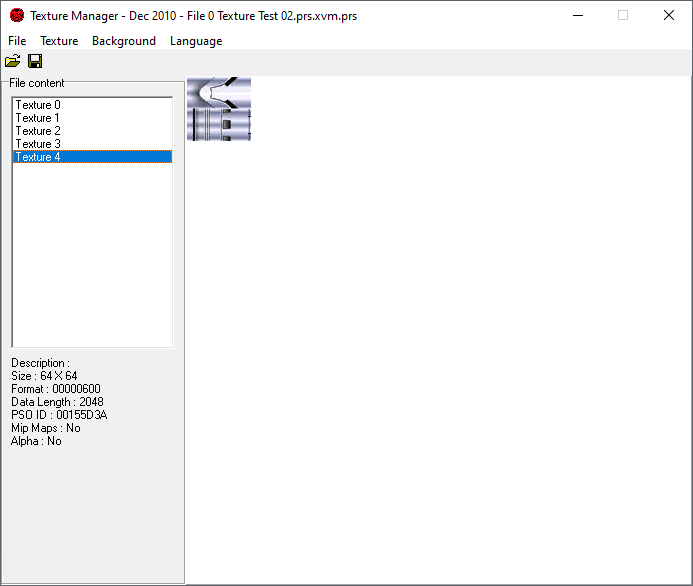
One final tidbit of relevant information; If you're attempting a swap that requires more textures than the file has by default, there are two ways of fixing it. First would be perusing the texture .afs and finding one that has the amount you need, and the second would be editing the uncompressed .prs file in much the same way you would for a model's texture index. I'll use the standard Saber as an example:
The bit highlighted in orange determines how many textures can be in a file. Normally, Saber has three textures, but after changing the bit to "05" it has increased to five. I haven't experimented with this too much, so I don't know if there's a limit before things go haywire.
5. Closing
Hopefully my breakdown of this process is easy to follow as I'm not particularly eloquent, so I apologize if this guide appears to be written by a toddler. If anyone has any questions I'll try to answer them to the best of my ability (just keep in mind that this kind of stuff isn't exactly my forte, as mentioned in the intro), and if anyone has any information or better methods pertaining to this sort of modification I'll be sure to ammend the guide.
Thank you for reading, and I look forward to see what swaps and discoveries people will make. Good luck, and have fun.
UPDATE - July 5th, 2025:
I've slightly restructured and amended the guide a bit as well as added more information along with fixing up some typos. A huge thank you to Lilyzavoqth for providing info on editing texture indexes!
Also, for anyone that would like the Red Saber and Lavis Cannon Jizai swap, I'll place a link to it here:
1. Introduction
2. Required Tools
3. Tutorial
4. Current Limitations, Workarounds/Pointers, and Experimentation
5. Closing
2. Required Tools
3. Tutorial
4. Current Limitations, Workarounds/Pointers, and Experimentation
5. Closing
1. Introduction
Long ago, Kra/Terra had figured out a method to extract and swap models within full weapon model files, but had never -to my knowledge- expanded upon this method or put out a tutorial, and for some time I believed this knowledge to be lost. After fruitlessly searching through internet archives of forums that no longer exist, I took it upon myself to attempt replicating their research. With this thread, I would like to share my methodology. Full disclaimer; I don't have a significant understanding of hex editing, reverse engineering, or the like, I just wanted to put this out there so that people can toy around and hopefully those more technically inclined than I can figure out more advanced modification with this knowledge (or share what they already know). Without further ado, let's get into it.
2. Required Tools and Useful Resources
Several tools will be required in order to perform these swaps:
- AFS Manager
- PRSUtil
- HelpPRS
- SCHTHack Modelview
- Texture Manager
- Any hex editing program (I will use HxD for this tutorial)
- Model and Texture list
3. Tutorial
For this tutorial, we'll be modifying Sange and Yasha by replacing Kamui with Sange, so we'll need a few models.
First, we'll need to open AFS Manager and open the weapon models file (ItemModelEp4.afs), which is located in the data folder (\EphineaPSO\data):
Now that we've opened the file, we'll need to extract a couple of models, so we'll need File 156 and File 198 (Sange alone and Sange and Yasha combined, respectively. Consult Soly's item list for their locations) and extract the files as .prs:
Note: I would recommend creating multiple different folders for the original files and multiple modified files.
We need to decompress these new files, so we'll use HelpPRS (note, PRSUtil is required for this program to work, and I believe they must also be in the same folder. PRSUtil also always crashes upon opening for me, so I needed HelpPRS for this work. Your mileage may vary) and then navigate to our extracted .prs files:
Once decompressed, you'll have an .xvm file:
Be sure to do this for every model you intend to use.
We'll open our newly decompressed files in a hex editor and look for "NJCM" in the decoded text field, starting with the lone Sange model (note: I changed the bytes per row to 32 in order to make it easier for myself to read):
From here, highlight from NJCM all the way to the end of the field, copy the text, and paste it down into a new file:
Once it's pasted into a new file, we're going to save this as an .xj file (you can name this file whatever you wish as long as the type is .xj, I've elected to name mine "File 156 - Sange (Alone).xj"). We'll do the same for the Sange and Yasha model to keep track of which parts of the file is which weapon:
For weapons that have two unique models in them, there will be two NJCM texts, so be sure not to highlight into the second model text (note: since I've already pre-checked these models, I've named the first one "File 198 - S&Y (Yasha).xj" and the second one "File 198 - S&Y (Kamui).xj." We'll be going over how to verify the models in the next section).
With our new .xj files, we'll drop them into the SCHTHack Modelview program to take a quick look and verify the models were ripped correctly. Simply drag an .xj file into the viewer and give it a quick look, starting with Sange:
Yep, that's Sange alright. Now to give the other models a peak:
So the first model is Yasha and the second is Kamui, and now we know which one we want to replace.
Going back to the hex editor, open the ripped Sange model, select the entire text, and copy, then move over to the Sange and Yasha model, select the text for the Kamui model portion, paste the Sange text over it, and then save (I elected to save as a new file which I named "File 198 - S&Y (Fixed).prs.xvm" to keep the original intact. You may also be prompted that the new file will be larger, which will need to be accepted):
Now that we have our modified model, it's time to recompress it with HelpPRS:
The recompressed file will now be a .prs file again, and in order to test it, must be renamed to "File 198.prs", and then dropped into the custom folder of the Ephinea install (\EphineaPSO\data\ephinea\custom\model). Once dropped into the folder, it's time to check ingame:
Success! Though we're not quite done yet. The Kamui texture is still present, so we'll need to correct that. Luckily, this part is much easier.
Open up AFS Manager again, but this time open ItemTextureEp4.afs, scroll down to File 198 and extract as a .prs, just like we had with the model (since this will share the same name as the model, be sure to place this in a different folder).
All that's left now is to retrieve a texture and replace Kamui's. Open up Texture Manager, load ItemTextureEp4.afs, then open File 156:
Click on Texture 0 and Export it as a .xvr:
Now load the "File 198.prs" texture file, select Texture 0, and import the .xvr from Sange:
And now Sange's texture has been injected:
Finally, all that's left is to save as a new file and place it in the \EphineaPSO\data\ephinea\custom\texture folder, and then check ingame (you may have to reload the game in order to load the texture):
Perfection! With the texture being corrected, this swap is now technically complete, but f you don't like which hand positions the weapons are in, you can change the order of the model files to switch them around:
The first model within the file will be in the right hand, while the second model will be in the left. Despite the models changing list order, the textures themselves don't need to be swapped because the model data determines which texture index they'll use:
Sange's data uses index 0

And Yasha's data uses index 1
 This information can be found near the end of a weapon's model data; It will typically start with "02 00 00 00 04 00 00 00", and after 24 places more will be the index (highlighted in orange, found after the "03"). For some models, there's a possibility it won't always start with the "02" bit, so it may take some trial and error to find the right data, but the "03" bit is a good indicator of where it could be.

And Yasha's data uses index 1
 This information can be found near the end of a weapon's model data; It will typically start with "02 00 00 00 04 00 00 00", and after 24 places more will be the index (highlighted in orange, found after the "03"). For some models, there's a possibility it won't always start with the "02" bit, so it may take some trial and error to find the right data, but the "03" bit is a good indicator of where it could be.
4. Current Limitations, Workarounds/Pointers, and Experimentation
Not all weapons can be swapped around without consequence, but with a little bit of cleverness, many can be made functional. As a quick example, I'll show a swap of Jizai with Red Saber and Lavis Cannon:
By taking a quick look at the texture files for these weapons, you'll find that Red Saber pulls from Texture 0 while Lavis Cannon pulls from Texture 1, so the texture index data doesn't need to be modified for either model:
Now, normally you could extract these textures, import them into Jizai's texture .prs file and be done with it, but upon getting into a game lobby, the game will crash. I learned that by removing the alpha layer on Lavis Cannon's texture, crashes will no longer occur; why this is I couldn't say, but it's something that should be accounted for when performing your own swaps.
On thing I'll briefly go over as the process is identical, projectiles can also be swapped around:
This is an Orotiagito firing a Lavis projectile. With a Lavis Cannon, the projectile's texture index will be 0, but since Orotiagito also uses 0, the projectile will look like a garbled mess, so by changing the projectile's index to 1 we can fix that problem:
With a simple change, this particular swap can be made to work.
It doesn't stop there, either; Projectiles don't necessarily have to be of the traditional variety:
And this is just playing it safe by sticking with weapon models. I imagine even more ambitious swaps can be done.
One final tidbit of relevant information; If you're attempting a swap that requires more textures than the file has by default, there are two ways of fixing it. First would be perusing the texture .afs and finding one that has the amount you need, and the second would be editing the uncompressed .prs file in much the same way you would for a model's texture index. I'll use the standard Saber as an example:
The bit highlighted in orange determines how many textures can be in a file. Normally, Saber has three textures, but after changing the bit to "05" it has increased to five. I haven't experimented with this too much, so I don't know if there's a limit before things go haywire.
5. Closing
Hopefully my breakdown of this process is easy to follow as I'm not particularly eloquent, so I apologize if this guide appears to be written by a toddler. If anyone has any questions I'll try to answer them to the best of my ability (just keep in mind that this kind of stuff isn't exactly my forte, as mentioned in the intro), and if anyone has any information or better methods pertaining to this sort of modification I'll be sure to ammend the guide.
Thank you for reading, and I look forward to see what swaps and discoveries people will make. Good luck, and have fun.
Last edited:

